
Butt Connectors Guide | How to Choose, Crimp & Install Wire Butt Connectors
Butt Connectors: How to Choose, Crimp and Install Them Correctly
Butt connectors join two wires end-to-end without soldering. When the connector matches the wire gauge and is compressed with the proper crimp tool, it creates a durable mechanical and electrical connection suitable for car stereos, speakers, backup cameras and other 12-volt accessories.
Everything You’ll Need for a Reliable Installation
A dependable butt-connector splice starts with the correct connector, but the finished installation also depends on proper stripping, crimping, insulation and wire protection. Quality Mobile Video carries the wire connectors, tools and wiring supplies needed to complete the job professionally.
- Correctly sized butt connectors
- Wire stripper
- Dedicated crimp tool
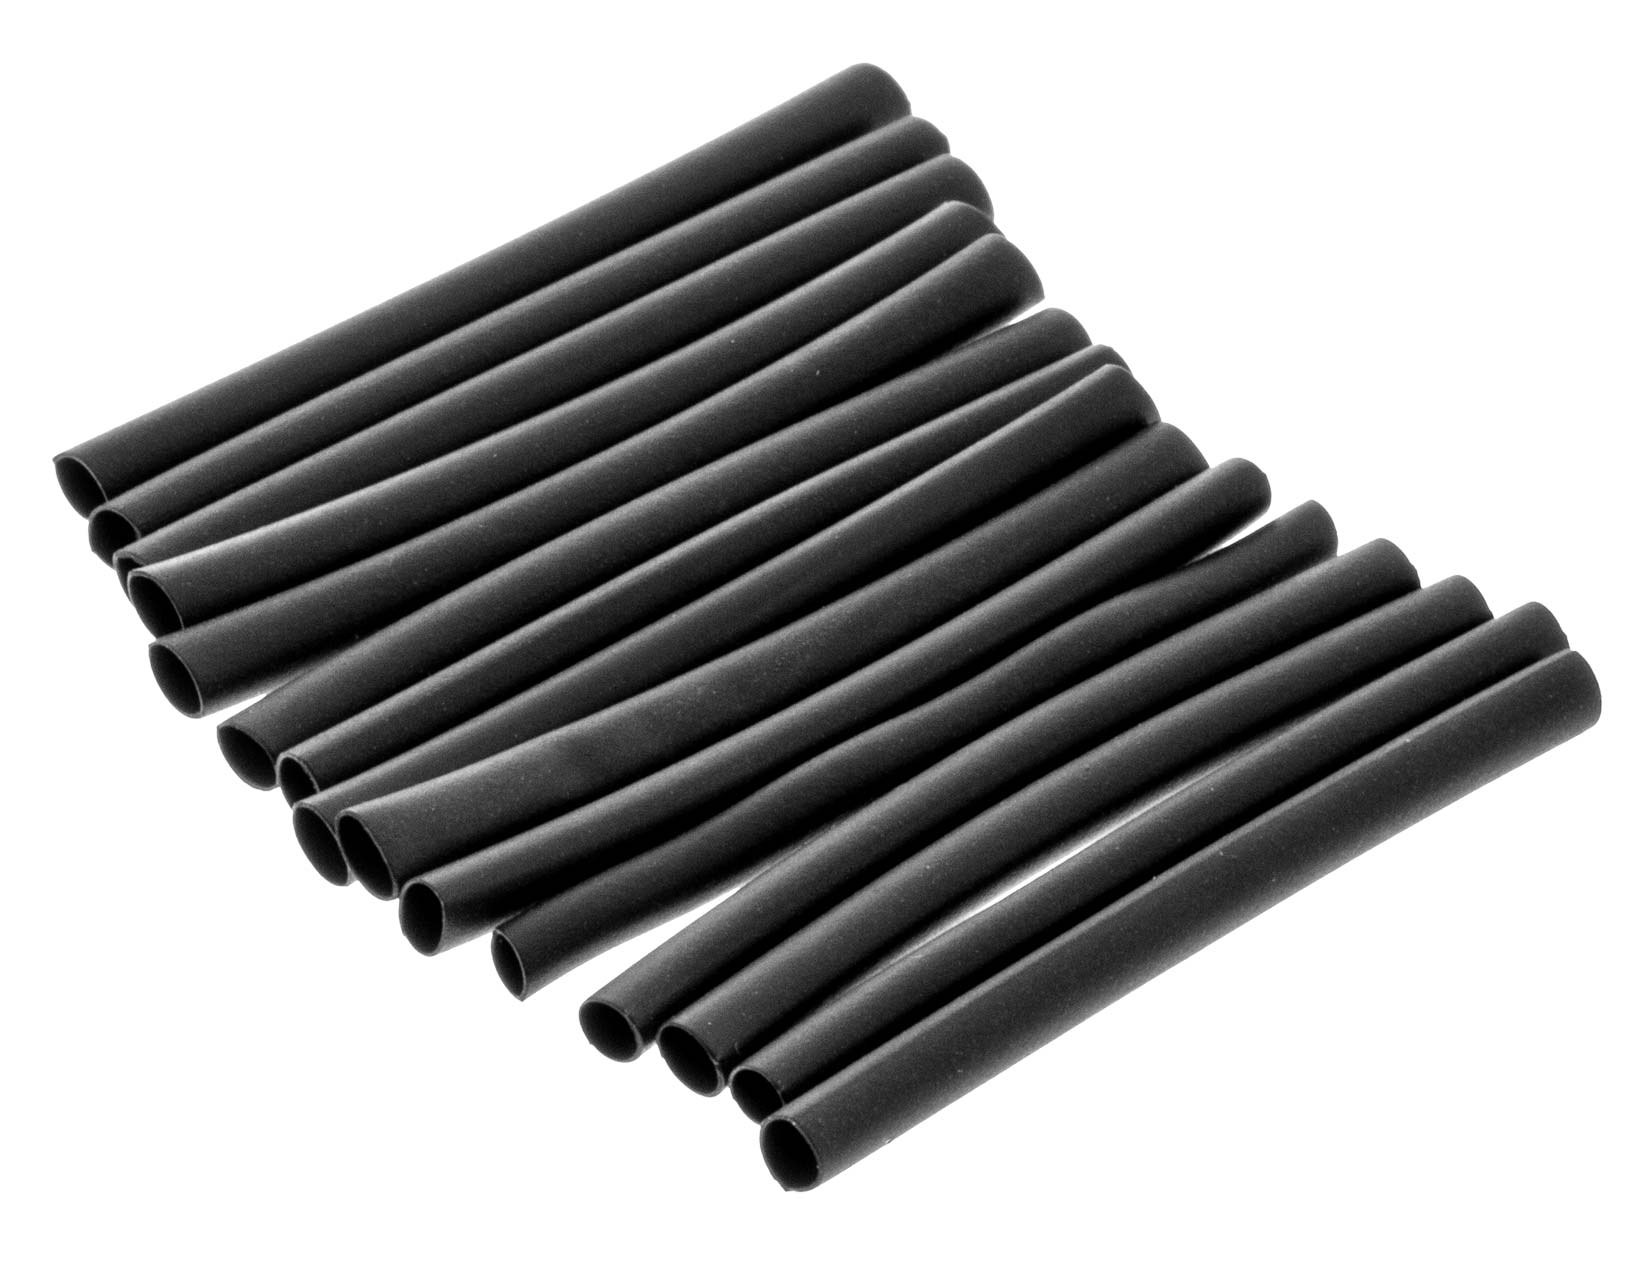
- Heat-shrink tubing
- Electrical or harness tape
- Split loom tubing
- Wire ties
- Vehicle-specific wiring information
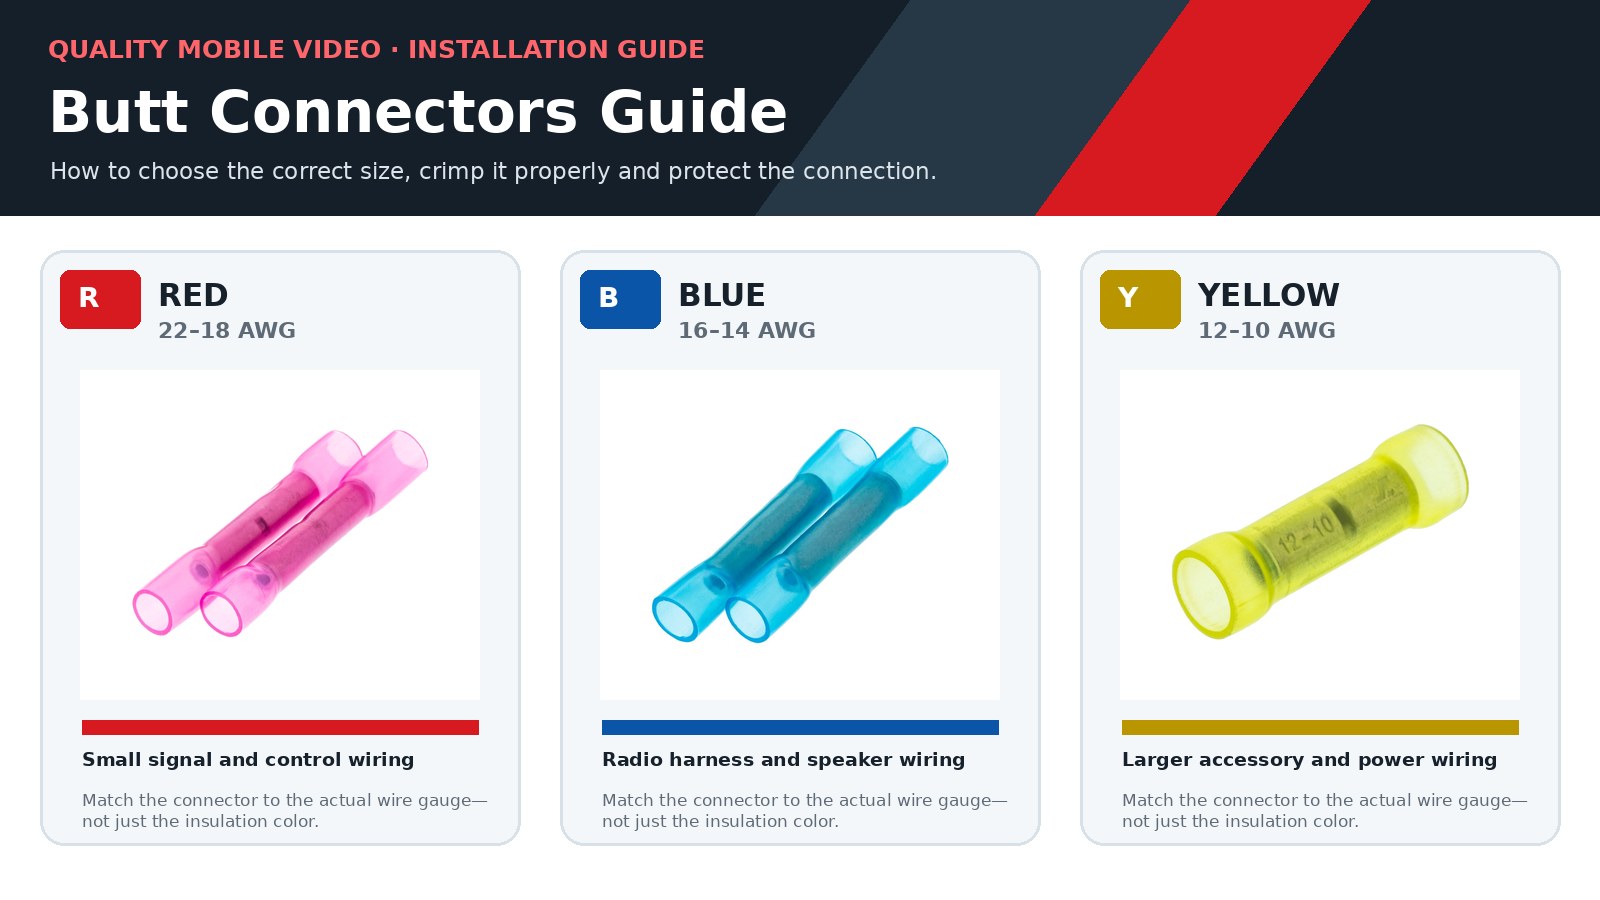
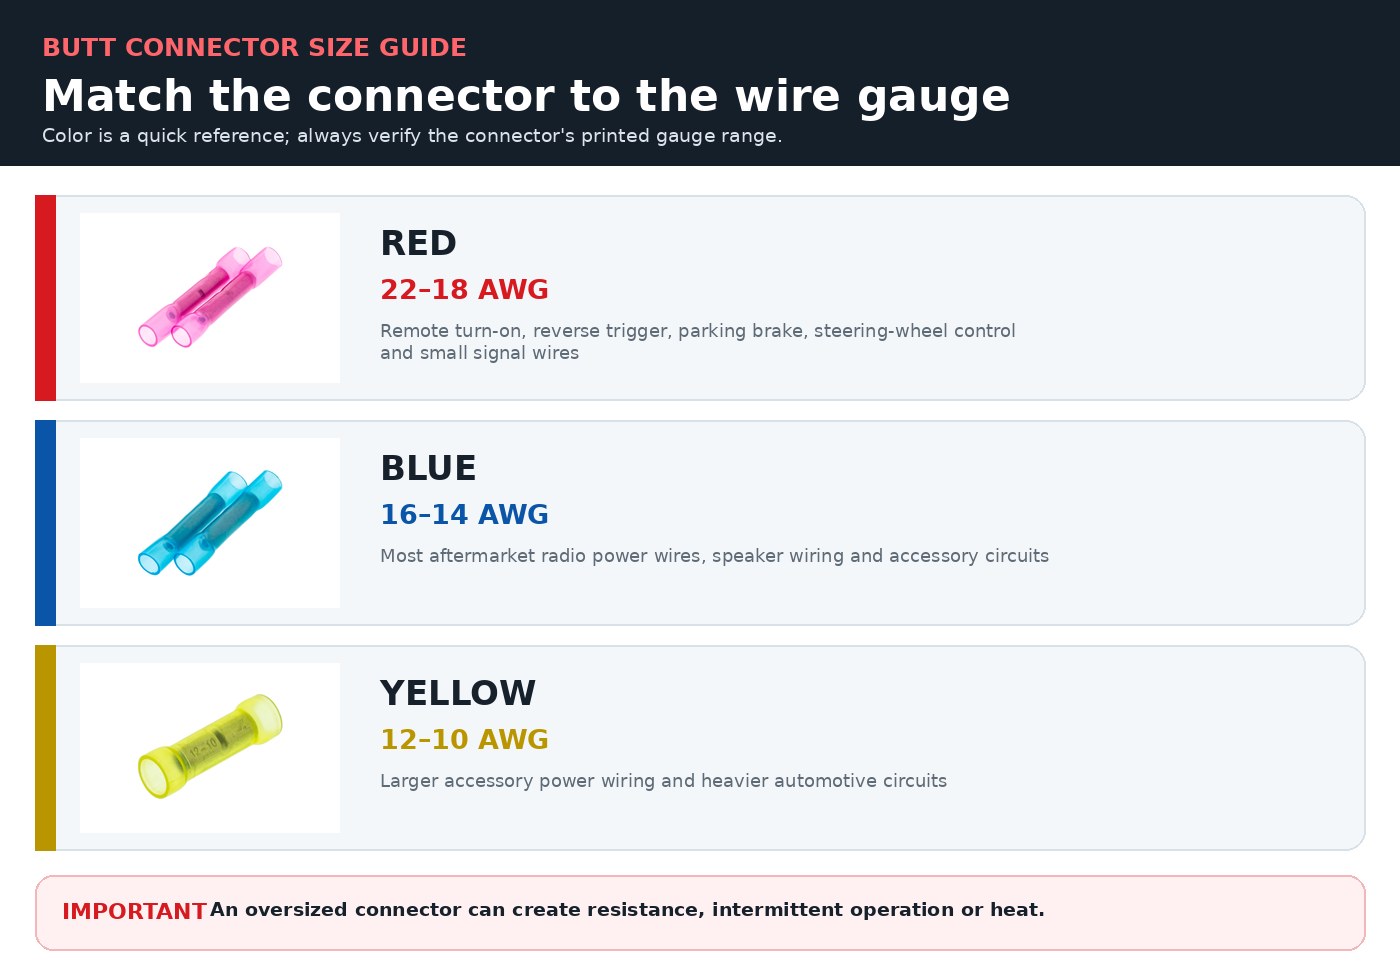
Butt Connector Color and Wire-Gauge Guide
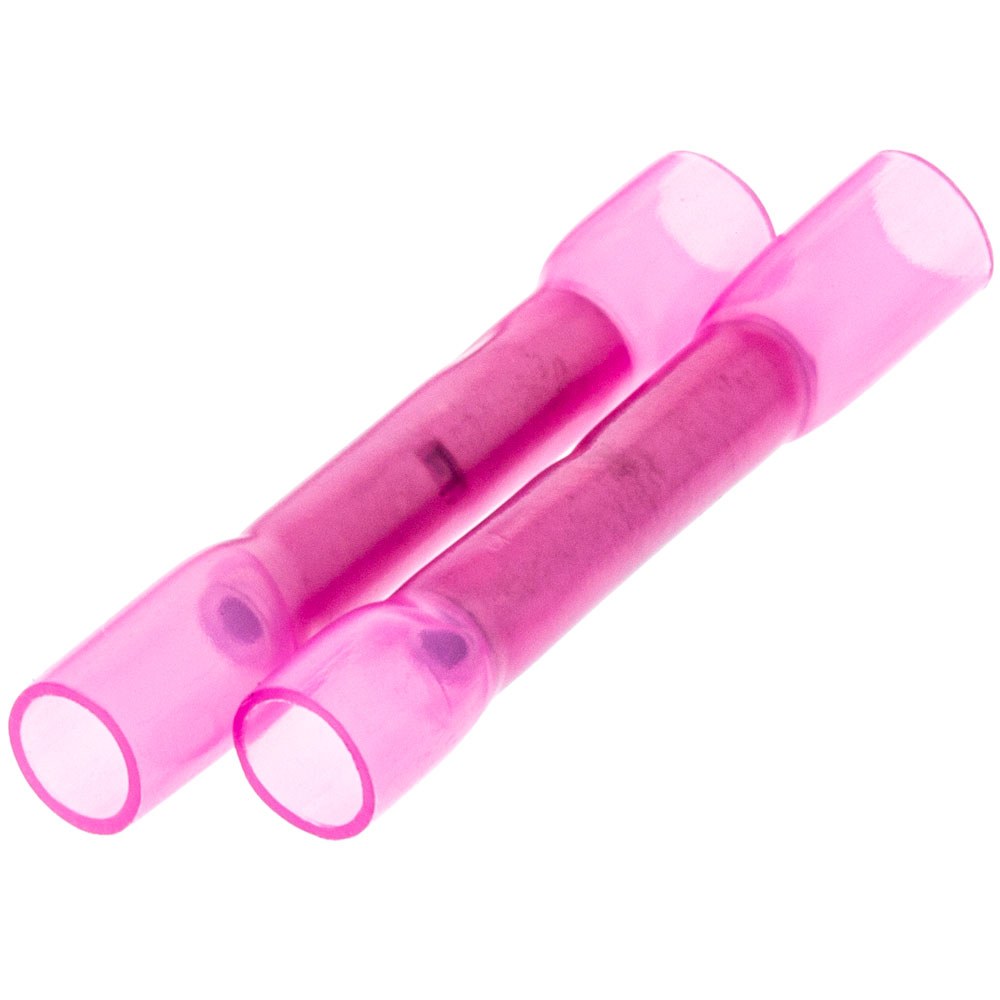
Red: 22–18 AWG
Commonly used for remote turn-on, reverse trigger, parking-brake, illumination and steering-wheel-control wiring.
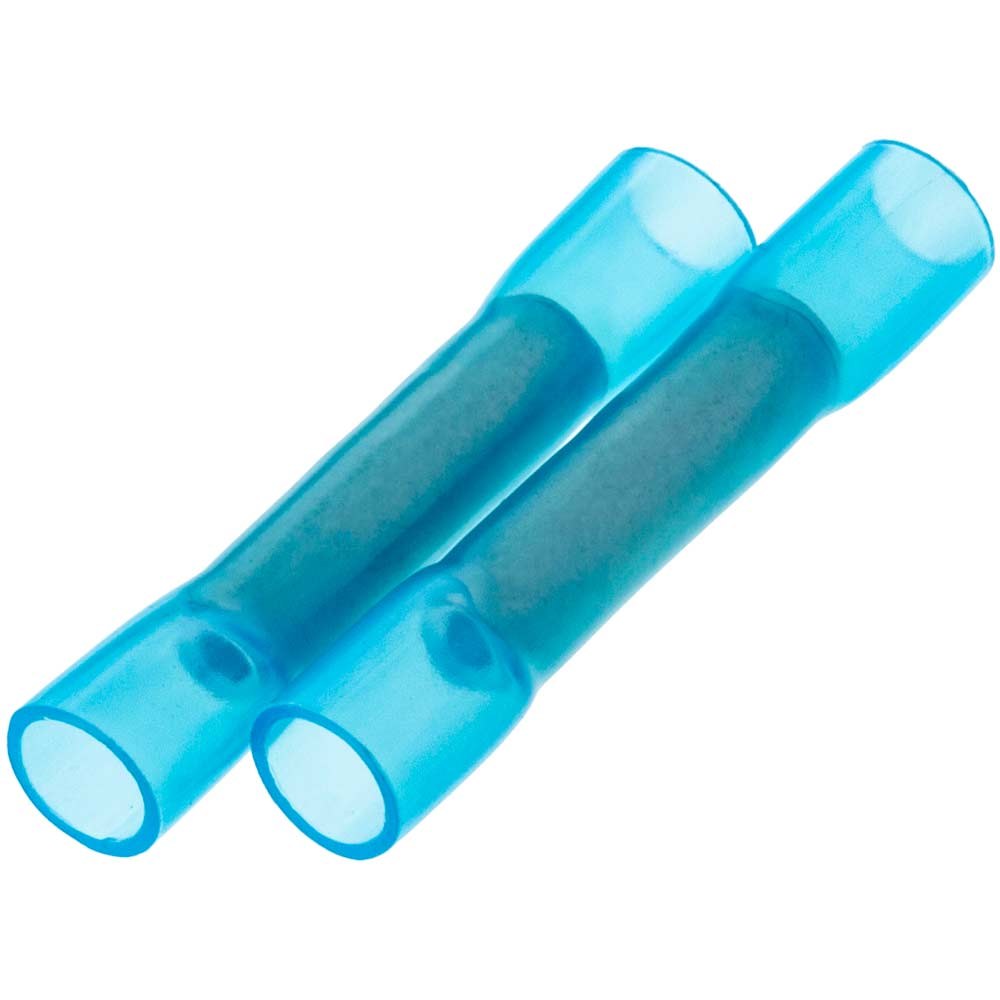
Blue: 16–14 AWG
Commonly used for aftermarket radio power wires, speaker wires and medium-size accessory circuits.
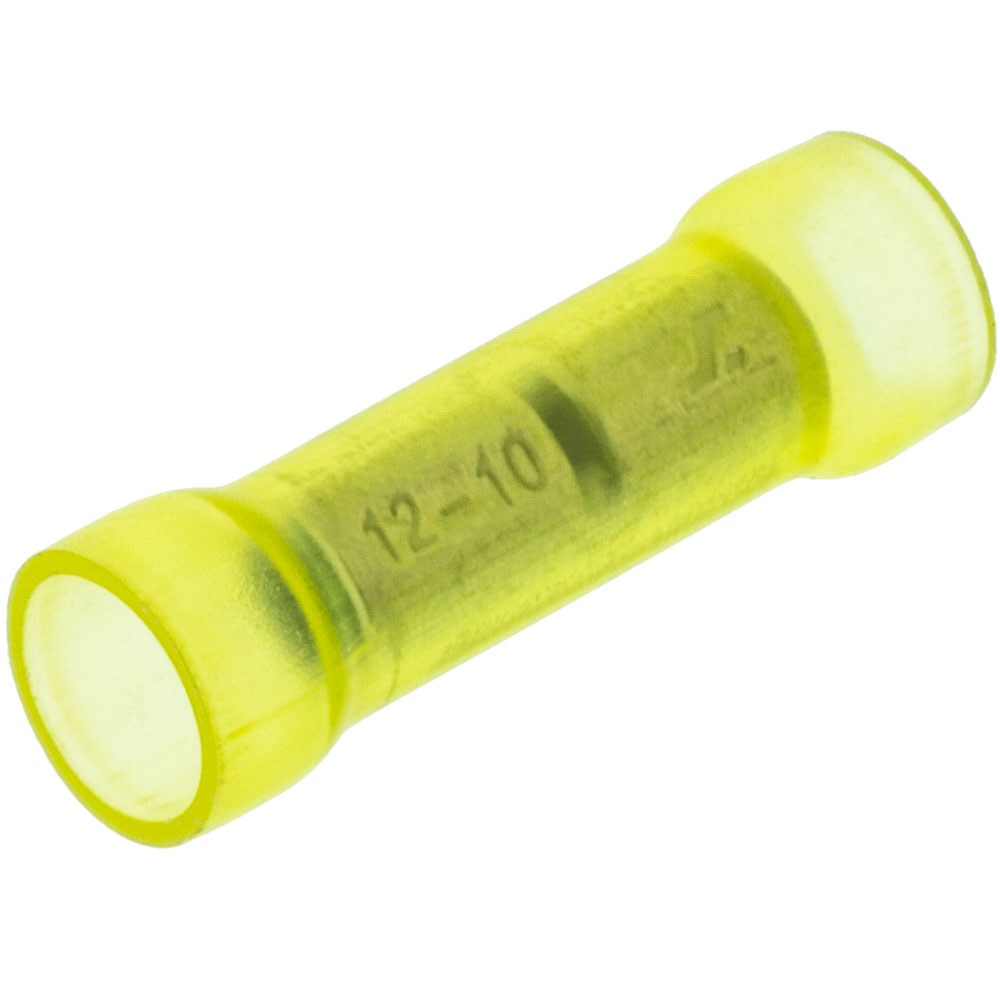
Yellow: 12–10 AWG
Used for larger accessory wiring and heavier conductors that will not fit red or blue connectors.
What Is a Butt Connector?
A butt connector is a cylindrical splice connector with an internal metal barrel. One stripped wire enters each end, and the barrel is crimped around both conductors. The completed splice keeps the wires aligned end-to-end and avoids loose twisting or unreliable temporary splices.
Standard insulated butt connectors work well in dry locations behind the dashboard. Adhesive-lined heat-shrink butt connectors add sealing and strain relief for connections exposed to moisture, dust or temperature changes.
Types of Butt Connectors
| Type | Best Location | Main Advantage | Important Limitation |
|---|---|---|---|
| Vinyl insulated | Dry interior locations | Low cost and fast installation | Does not seal out moisture |
| Nylon insulated | Interior automotive wiring | More flexible insulation | Requires separate sealing when exposed |
| Adhesive heat-shrink | Moisture-prone or permanent repairs | Seals and supports the splice | Requires controlled heating |
| Seamless metal barrel | High-reliability wiring | Consistent compression and conductivity | Quality varies by manufacturer |
How to Install a Butt Connector
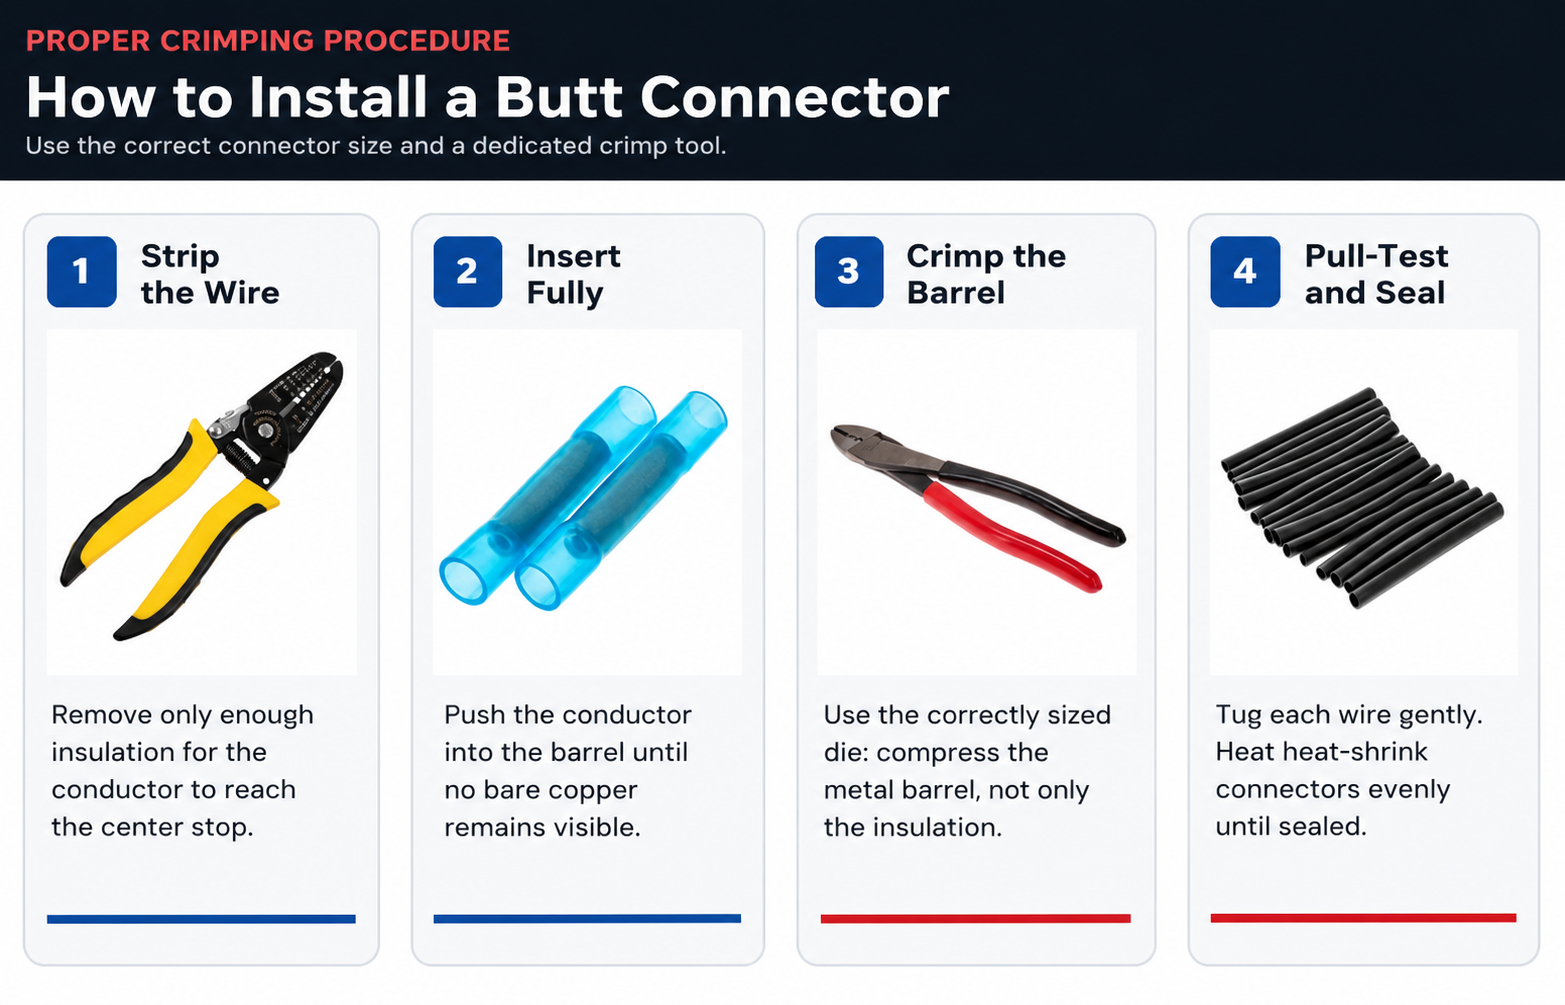
- Confirm the wire gauge. Select a connector whose specified range includes both wires.
- Strip the insulation. Remove only enough insulation for the conductor to reach the connector’s internal stop.
- Insert the first wire fully. No bare copper should remain outside the insulation sleeve.
- Crimp the metal barrel. Use the correct die on a dedicated crimp tool.
- Repeat on the second side.
- Pull-test both wires. A correctly installed wire should not move or pull out.
- Seal when required. Heat an adhesive-lined connector evenly from the center outward.
Professional Installer Shopping Checklist
For the cleanest and most reliable result, gather the complete set of installation supplies before beginning the job.
- Butt connectors matched to the wire gauge
- Adhesive-lined heat-shrink connectors for exposed wiring
- Wire stripper sized for small automotive conductors
- Crimp tool for insulated terminals
- Heat-shrink tubing for added insulation
- Electrical tape or cloth harness tape
- Split loom for abrasion protection
- Wire ties for secure routing
Common Installation Mistakes
- Using an oversized connector because the insulation appears thicker than the conductor.
- Stripping too much insulation and leaving copper exposed.
- Crimping only the plastic sleeve instead of the internal metal barrel.
- Using pliers instead of a connector-specific crimp tool.
- Failing to pull-test the finished connection.
- Using a standard connector where moisture or road contamination can reach it.
- Overheating heat-shrink insulation with an open flame.
Crimping Versus Soldering
A properly engineered crimp forms a strong mechanical bond while allowing the wire to remain flexible near the splice. A quality wire stripper and crimp tool help produce repeatable results. Soldering can also produce a reliable joint, but the soldered section becomes more rigid and must be supported and insulated correctly.
| Method | Strength | Installation Speed | Best Use |
|---|---|---|---|
| Quality crimp | Excellent when sized correctly | Fast | Radio harnesses and repeatable automotive wiring |
| Solder plus heat shrink | Excellent when properly supported | Slower | Custom repairs and specialized small-gauge work |
| IDC tap | Application dependent | Very fast | Selected low-current taps—not every splice |
Recommended Tools and Supplies
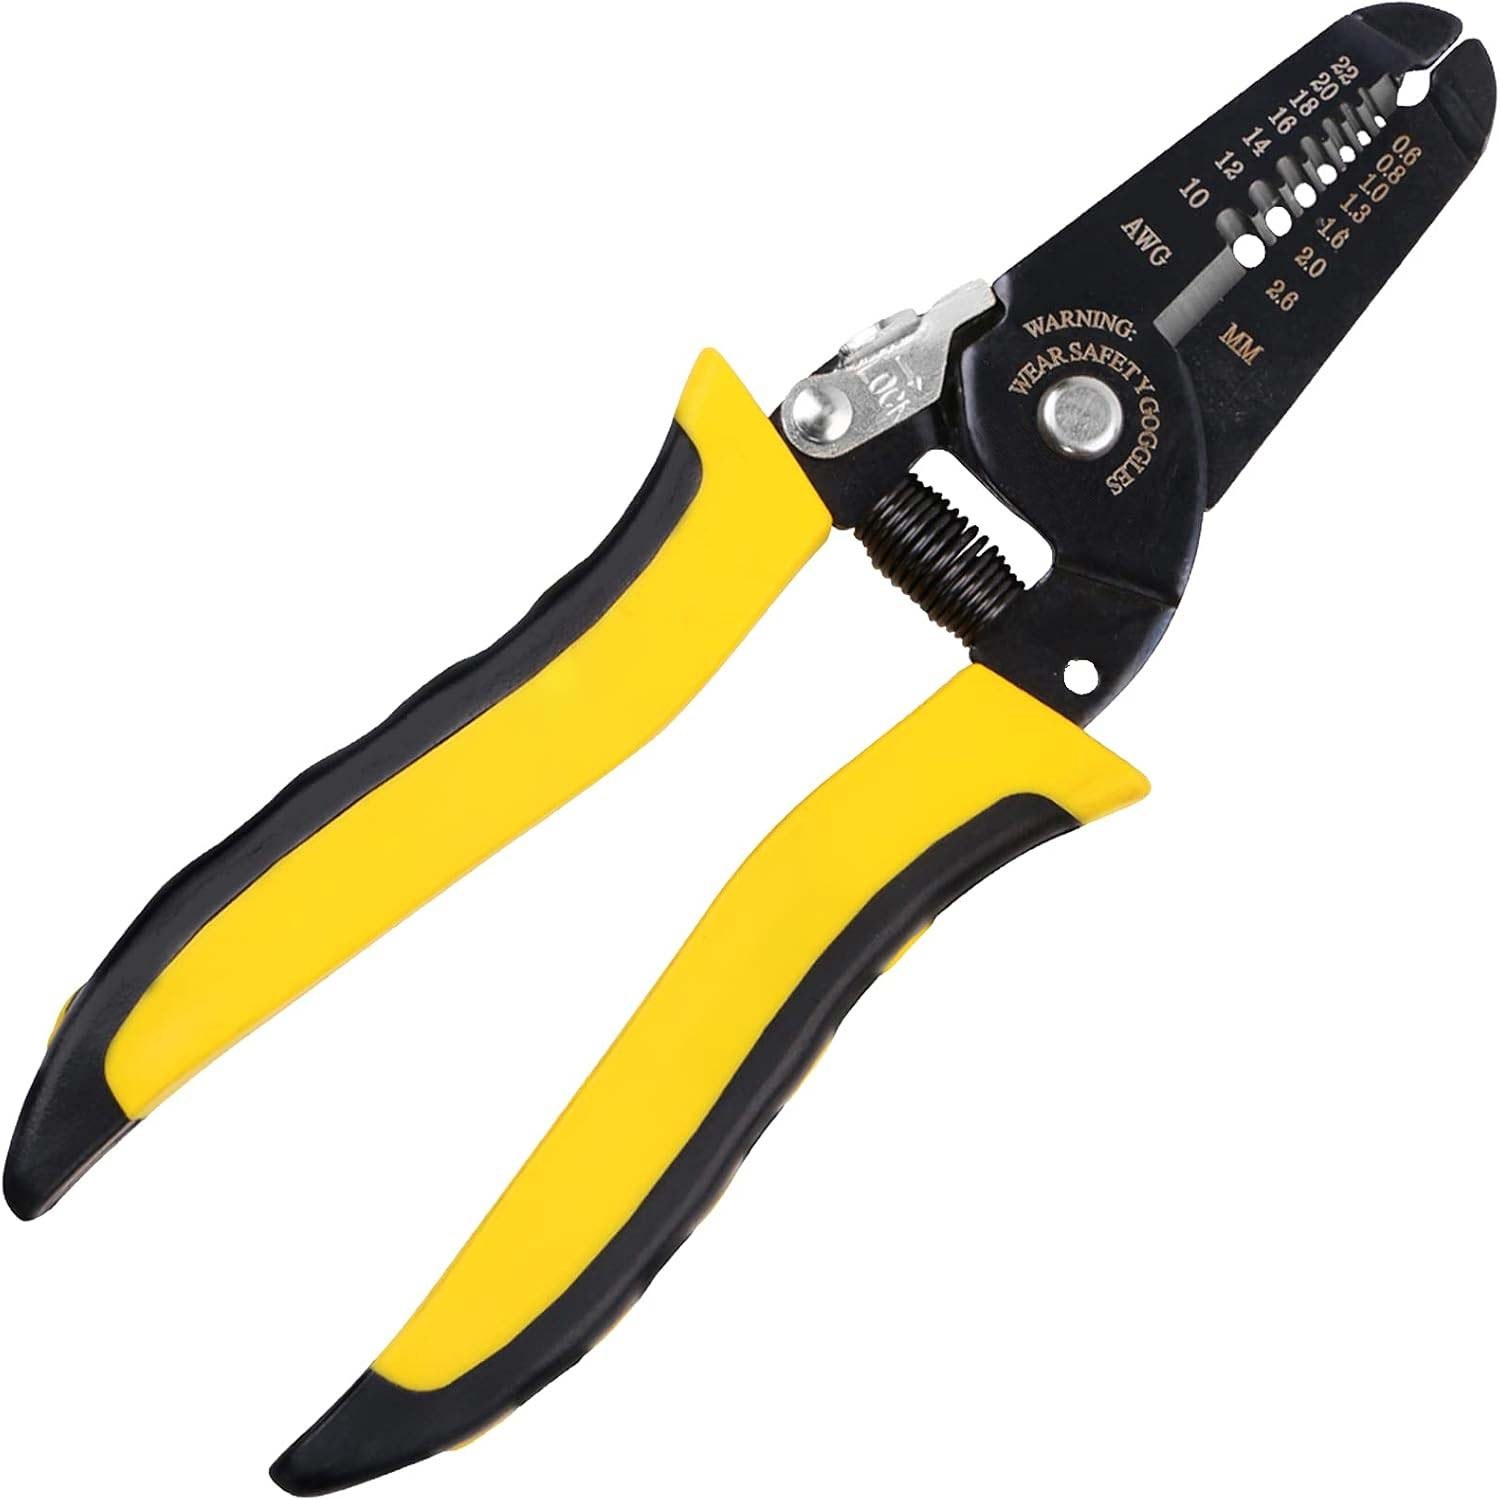 Wire Strippers
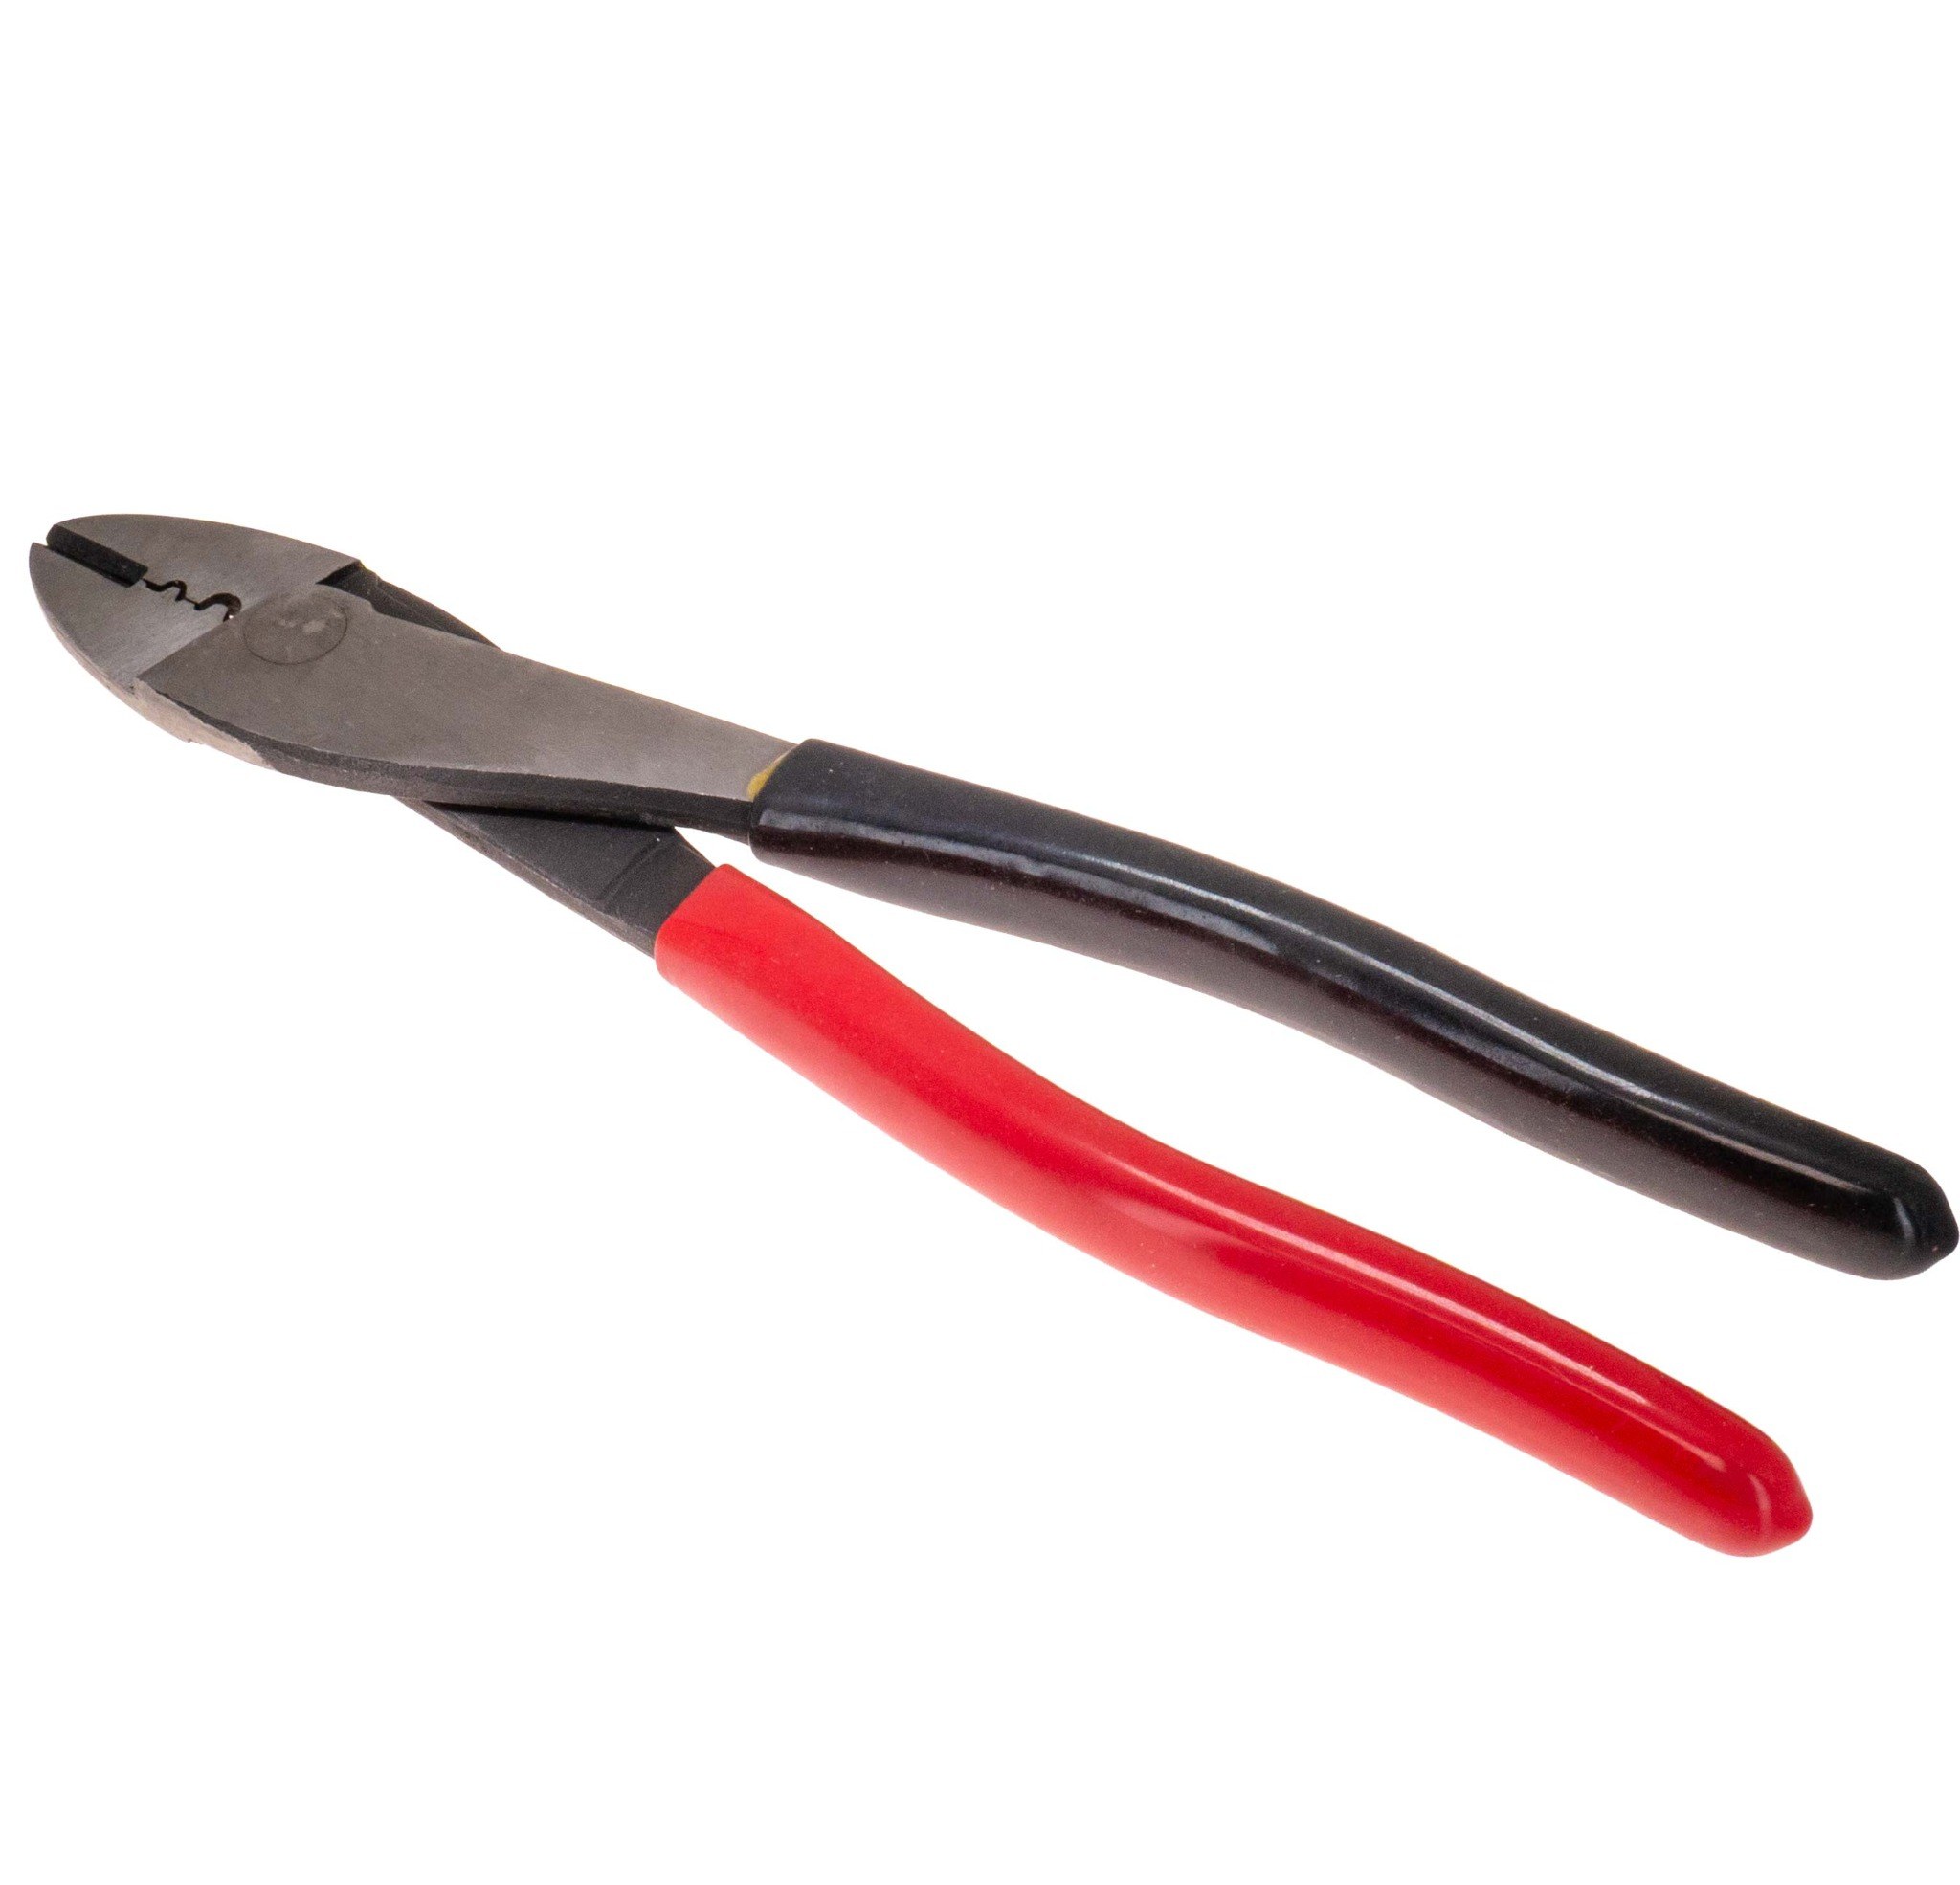 Crimp Tools
 Heat-Shrink Tubing
Related Installation Products
These products work together to create a secure, insulated and serviceable automotive wiring installation.
Frequently Asked Questions
Are butt connectors waterproof?
Standard vinyl or nylon butt connectors are not waterproof. Adhesive-lined heat-shrink butt connectors provide a moisture-resistant seal when properly crimped and heated.
Can butt connectors be reused?
No. Crimping permanently deforms the connector barrel. Cut off the old connector and install a new one.
What happens if I use the wrong size?
An oversized connector may not grip the wire, while an undersized connector can damage the conductor or prevent full insertion.
Should I solder a butt connector after crimping?
A correctly sized connector installed with a proper crimp tool does not require solder.
Build a Reliable Automotive Wiring Connection
Choosing the correct butt connector is only one part of a dependable installation. The proper crimp tool, wire stripper, heat-shrink tubing and wire-protection supplies help ensure each connection remains secure through years of vibration and temperature changes.
Whether you are replacing a factory radio, installing an amplifier, adding a backup camera or wiring another 12-volt accessory, Quality Mobile Video offers the connectors and installation supplies needed to complete the job with confidence.
