
Heat Shrink Tubing: How to Choose, Size and Install It Correctly
Heat Shrink Tubing: How to Choose, Size and Install It Correctly
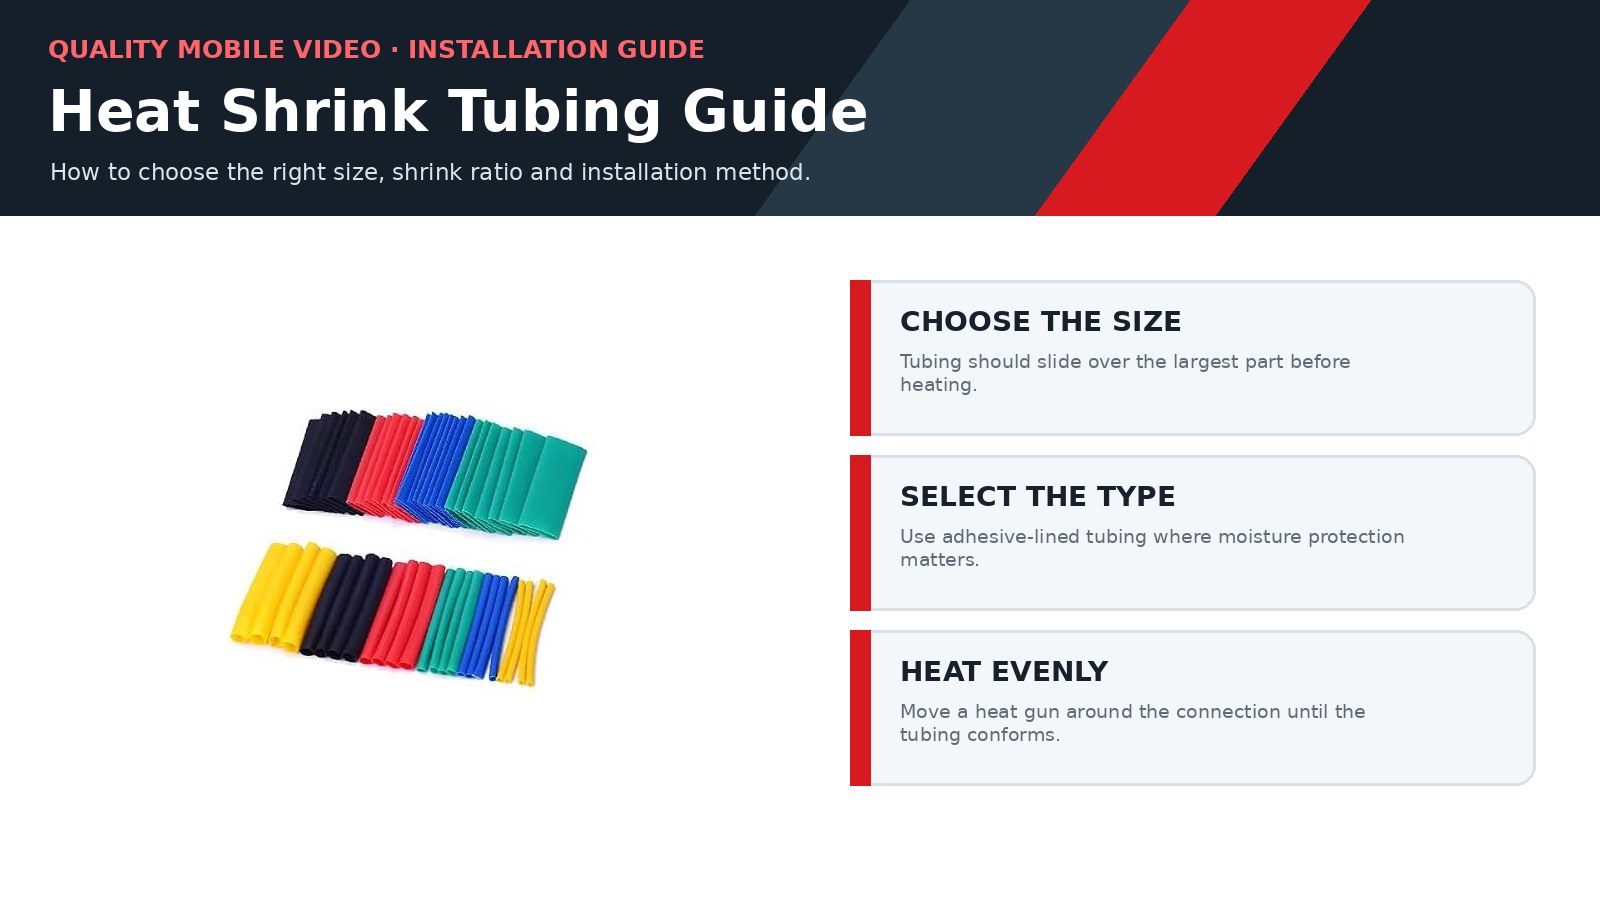
Heat shrink tubing insulates and supports electrical connections by contracting around a wire, splice or connector when heated. The correct tubing can improve abrasion resistance, strain relief, organization and moisture protection in car stereo and other 12-volt installations.
Everything You’ll Need
A professional installation requires more than tubing alone. Gather the correct heat shrink, wire connectors and tools before beginning.
What Is Heat Shrink Tubing?
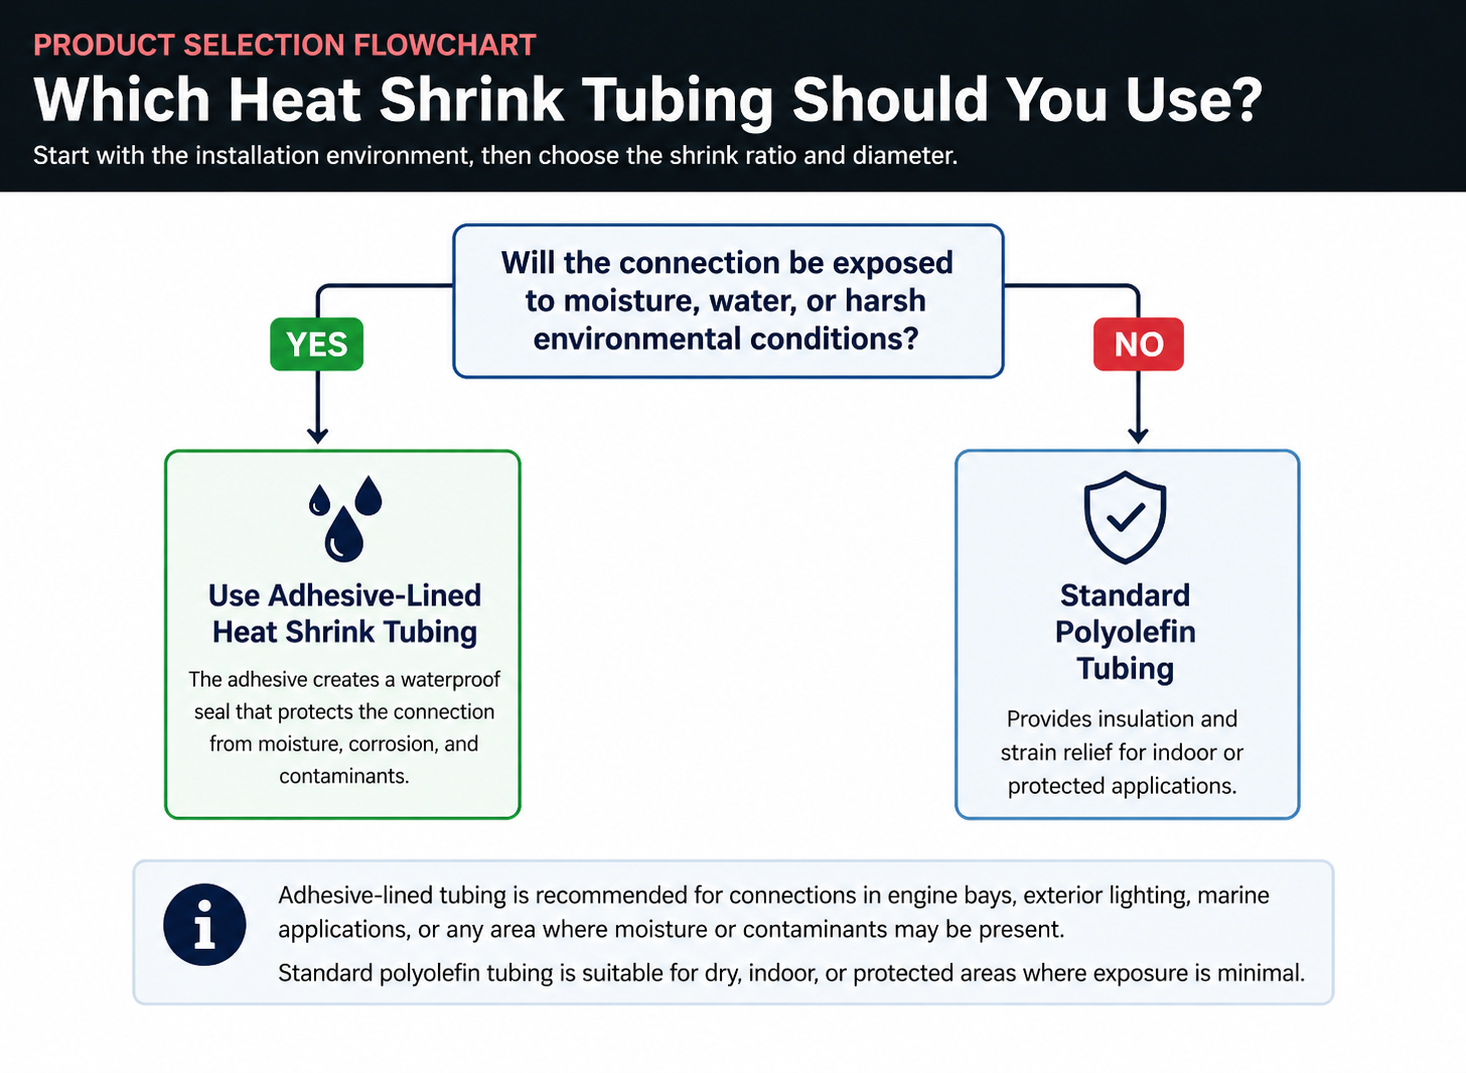
Heat shrink tubing is a thermoplastic sleeve supplied at a larger diameter than its finished size. When heated within its intended temperature range, it contracts around the object beneath it. Standard tubing provides electrical insulation and abrasion protection. Adhesive-lined tubing also contains a meltable inner layer that fills small gaps and improves resistance to moisture.
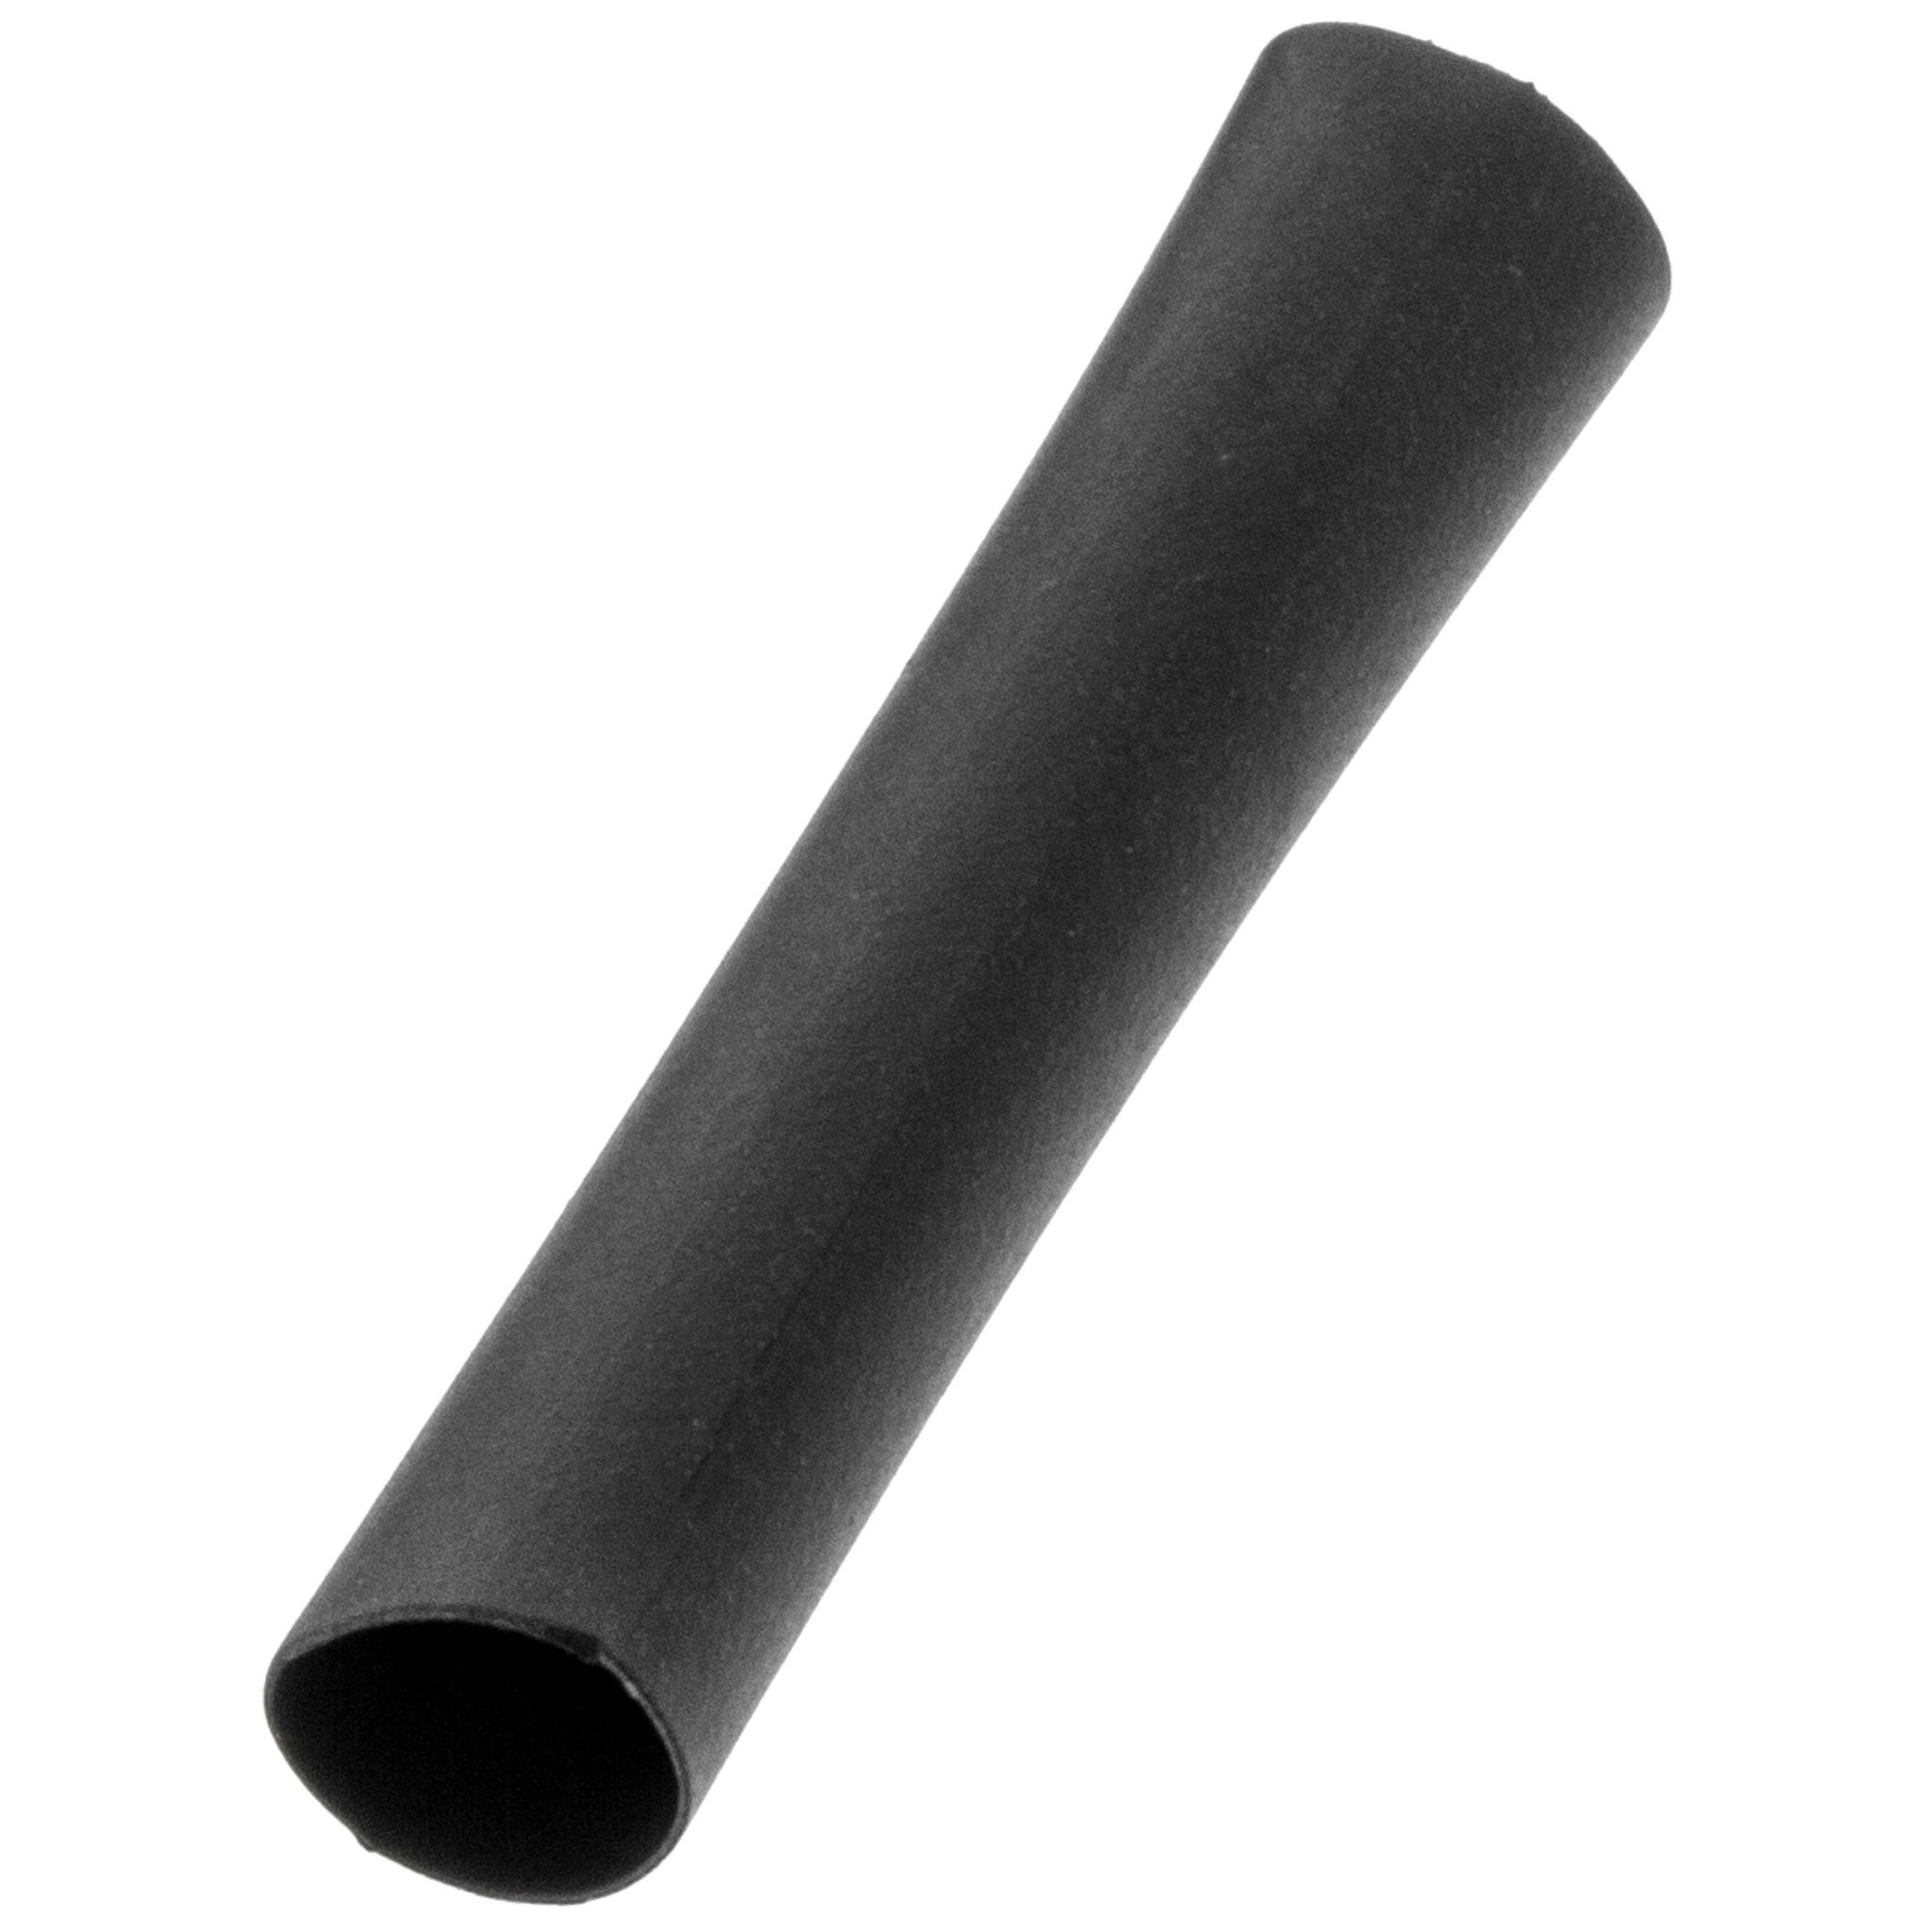
Standard Tubing
Best for protected interior wiring, soldered splices and general insulation.
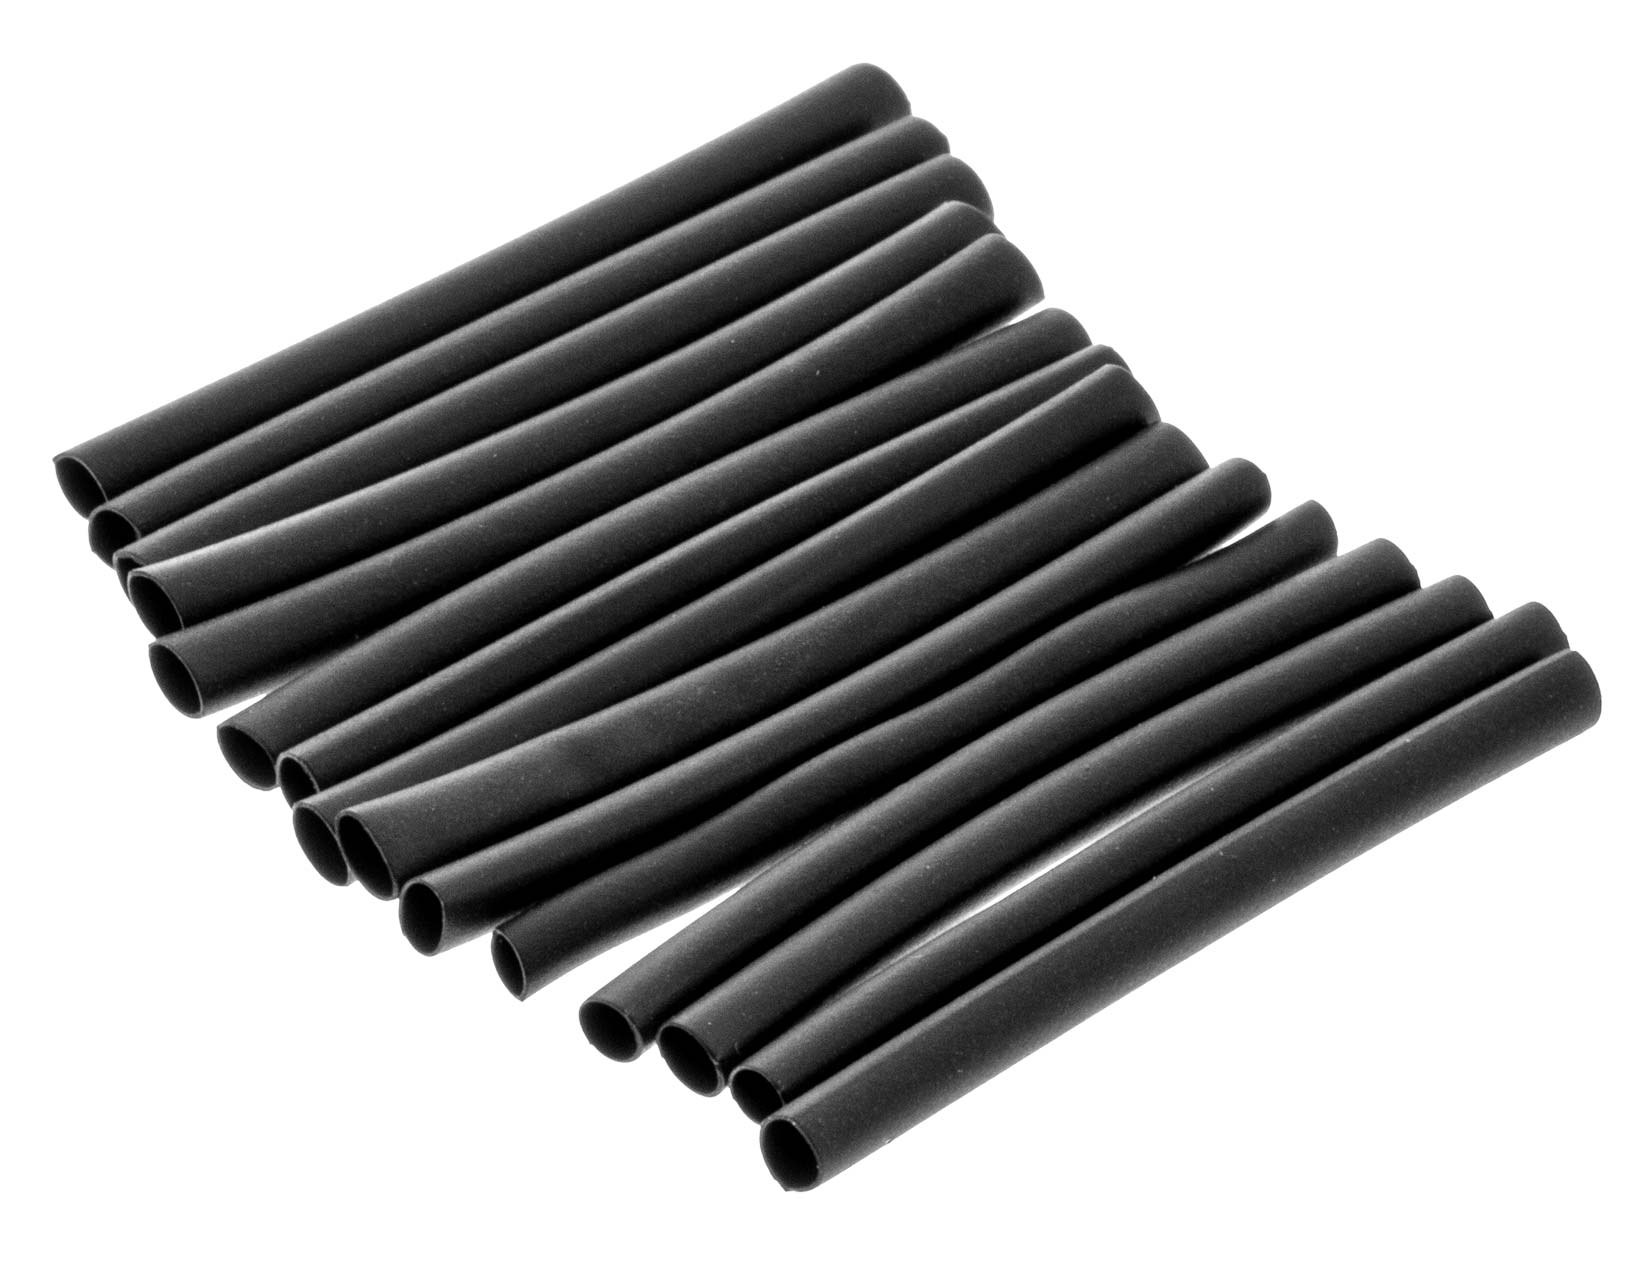
Multiple Sizes
An assortment helps match small signal wires, speaker wires and larger connectors.
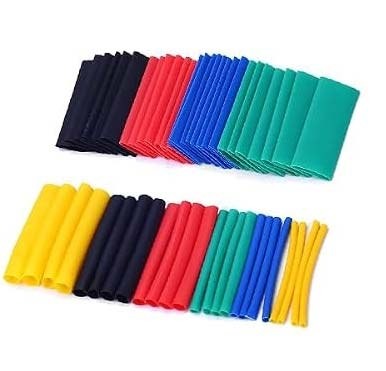
Color-Coded Tubing
Useful for circuit identification, organization and matching wiring functions.
Types of Heat Shrink Tubing
| Type | Best Application | Main Advantage | Important Limitation |
|---|---|---|---|
| Standard polyolefin | Protected dashboard and interior wiring | Flexible, clean and inexpensive | Does not automatically create a waterproof seal |
| Adhesive-lined | Moisture-prone or exposed wiring | Improved sealing and strain relief | More difficult to remove during future service |
| Thin-wall | Compact wire harnesses | Low-profile finished splice | Less mechanical protection than heavy-wall tubing |
| Heavy-wall | Large cables and harsh environments | Maximum abrasion and impact protection | Bulky and requires more heat |
Understanding Shrink Ratios
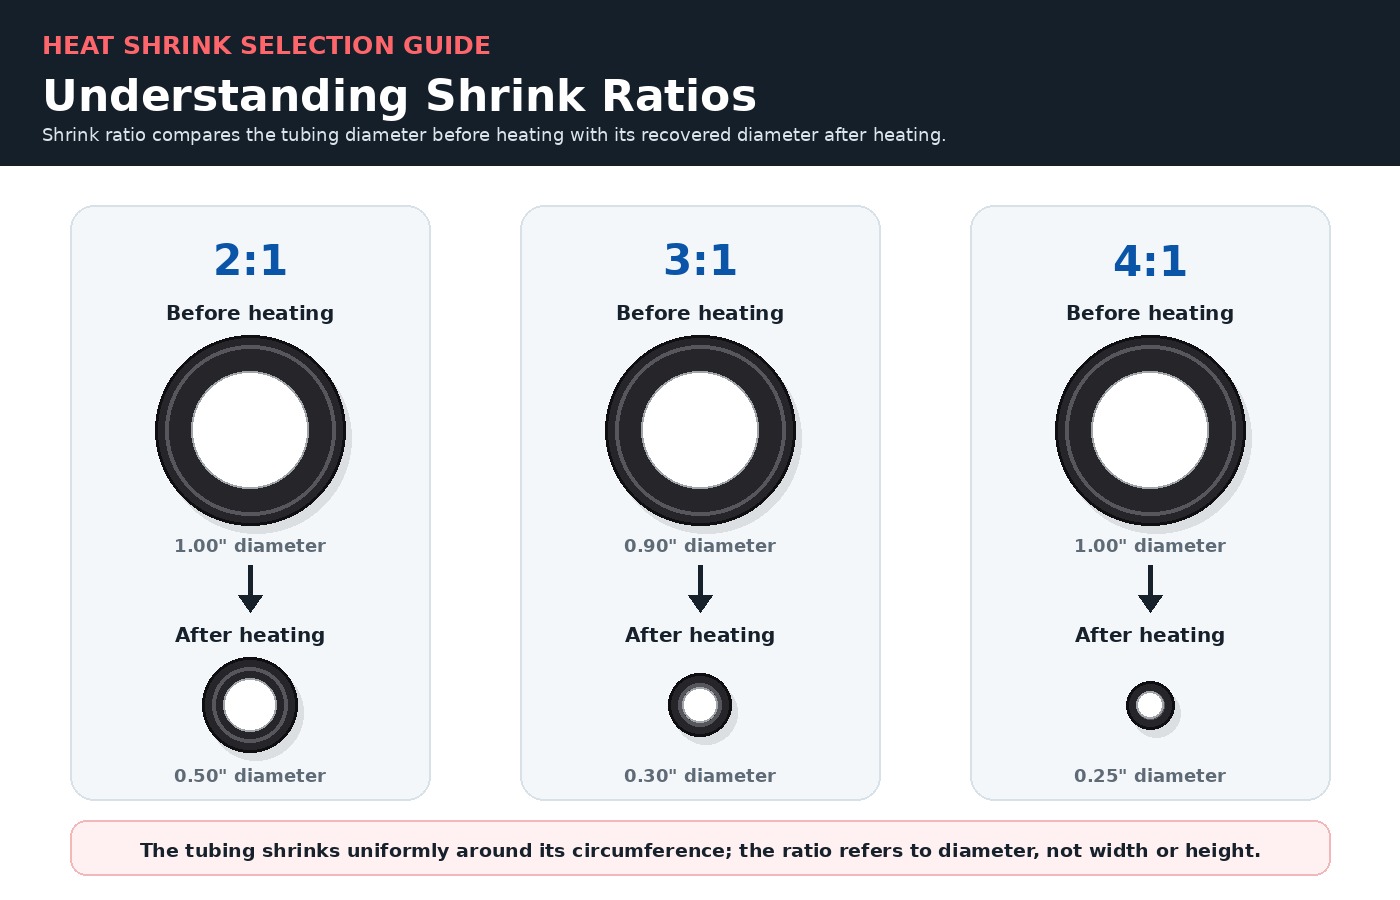
The shrink ratio compares the tubing’s supplied diameter with its approximate recovered diameter. A 2:1 tube shrinks to about half its original diameter, while a 3:1 tube can shrink to about one third.
Which Heat Shrink Tubing Should You Use?
How to Install Heat Shrink Tubing
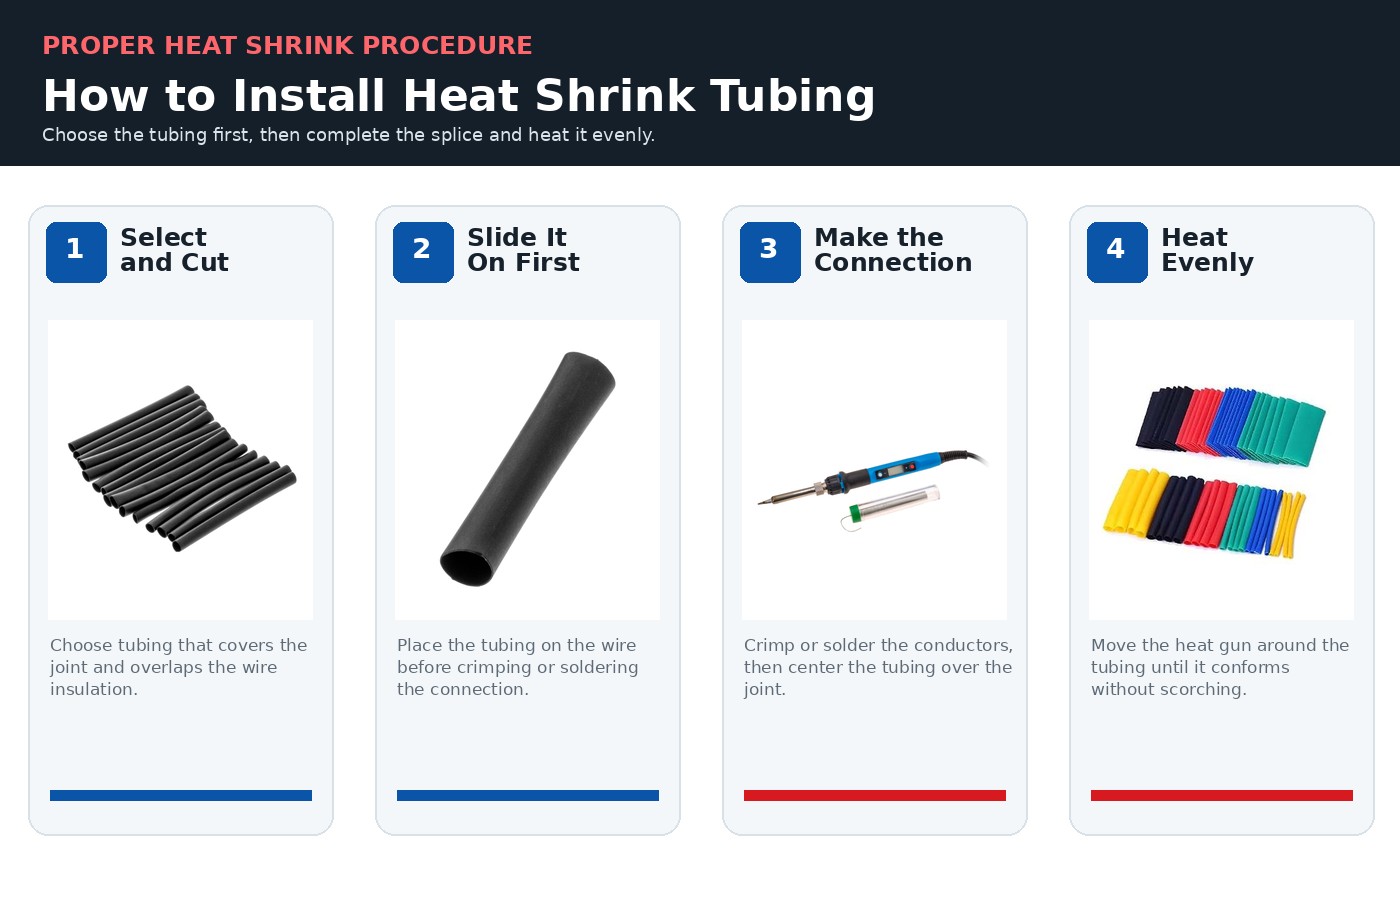
- Select the tubing. Confirm the inside diameter and shrink ratio before cutting it.
- Cut the tubing. Leave enough length to overlap intact wire insulation on both sides of the splice.
- Slide it onto the wire first. Move it far enough away that soldering or crimping heat will not begin shrinking it prematurely.
- Complete the connection. Use a properly sized wire connector or a correctly supported solder joint.
- Center the tubing. Cover all exposed conductor and overlap sound insulation on both sides.
- Heat evenly. Move the heat gun around the tubing rather than concentrating heat in one spot.
- Allow it to cool. Do not pull or bend the connection until the tubing has fully set.
Heat Shrink Tubing vs. Electrical Tape
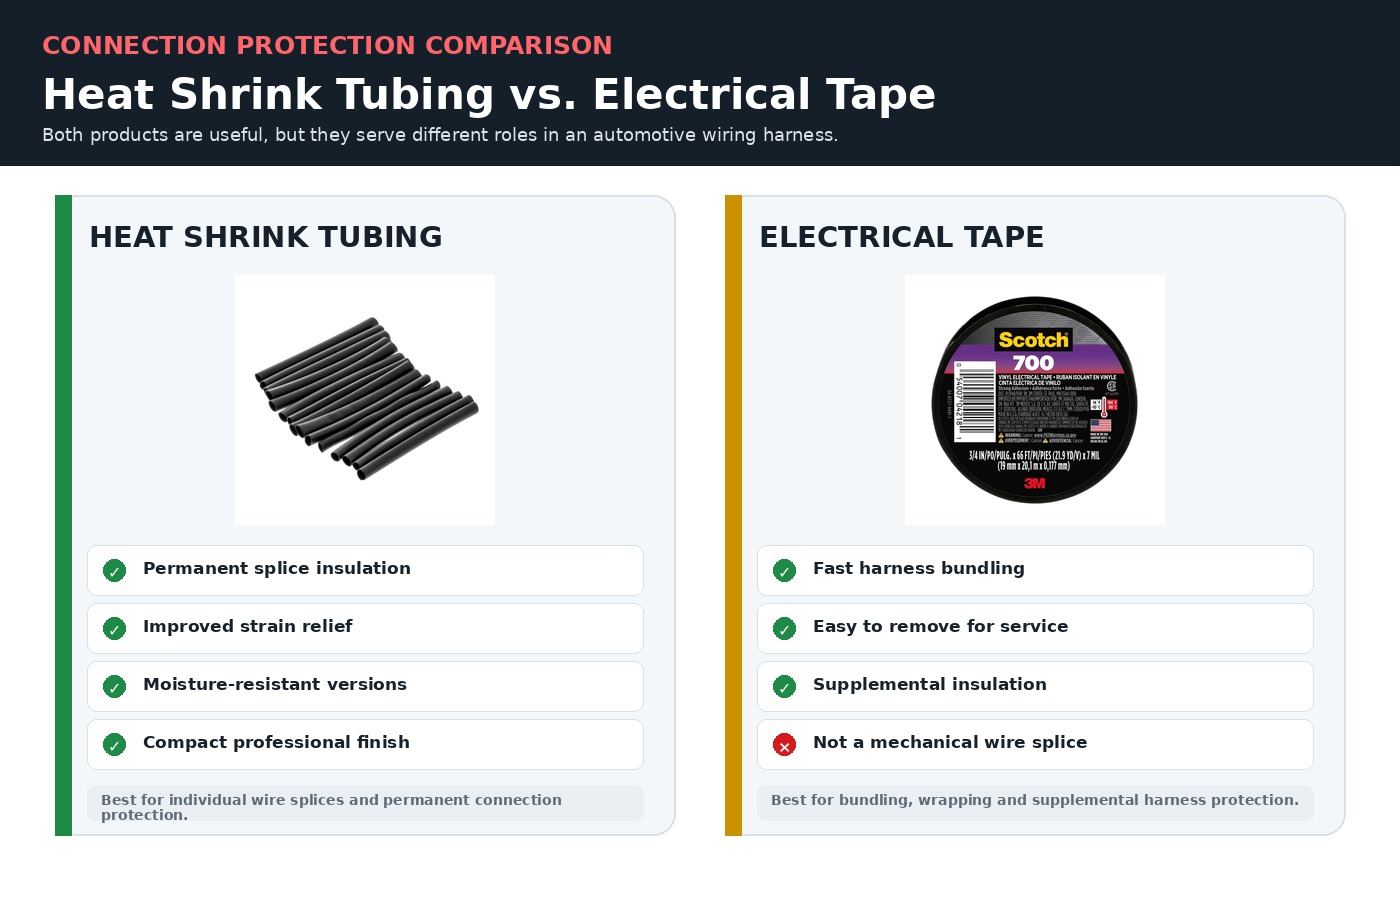
Heat shrink tubing is normally the better choice for permanently insulating an individual splice. Electrical tape remains useful for bundling, supplemental protection and repairs that may need to be reopened.
Common Installation Mistakes
- Selecting tubing that cannot pass over the connector before heating.
- Using tubing that remains loose after fully shrinking.
- Forgetting to place the tubing on the wire before making the splice.
- Using an open flame and scorching the tubing or nearby insulation.
- Heating only one side and creating an uneven fit.
- Failing to overlap intact insulation on both sides of the connection.
- Assuming every heat shrink product is waterproof.
Recommended Tools and Related Supplies
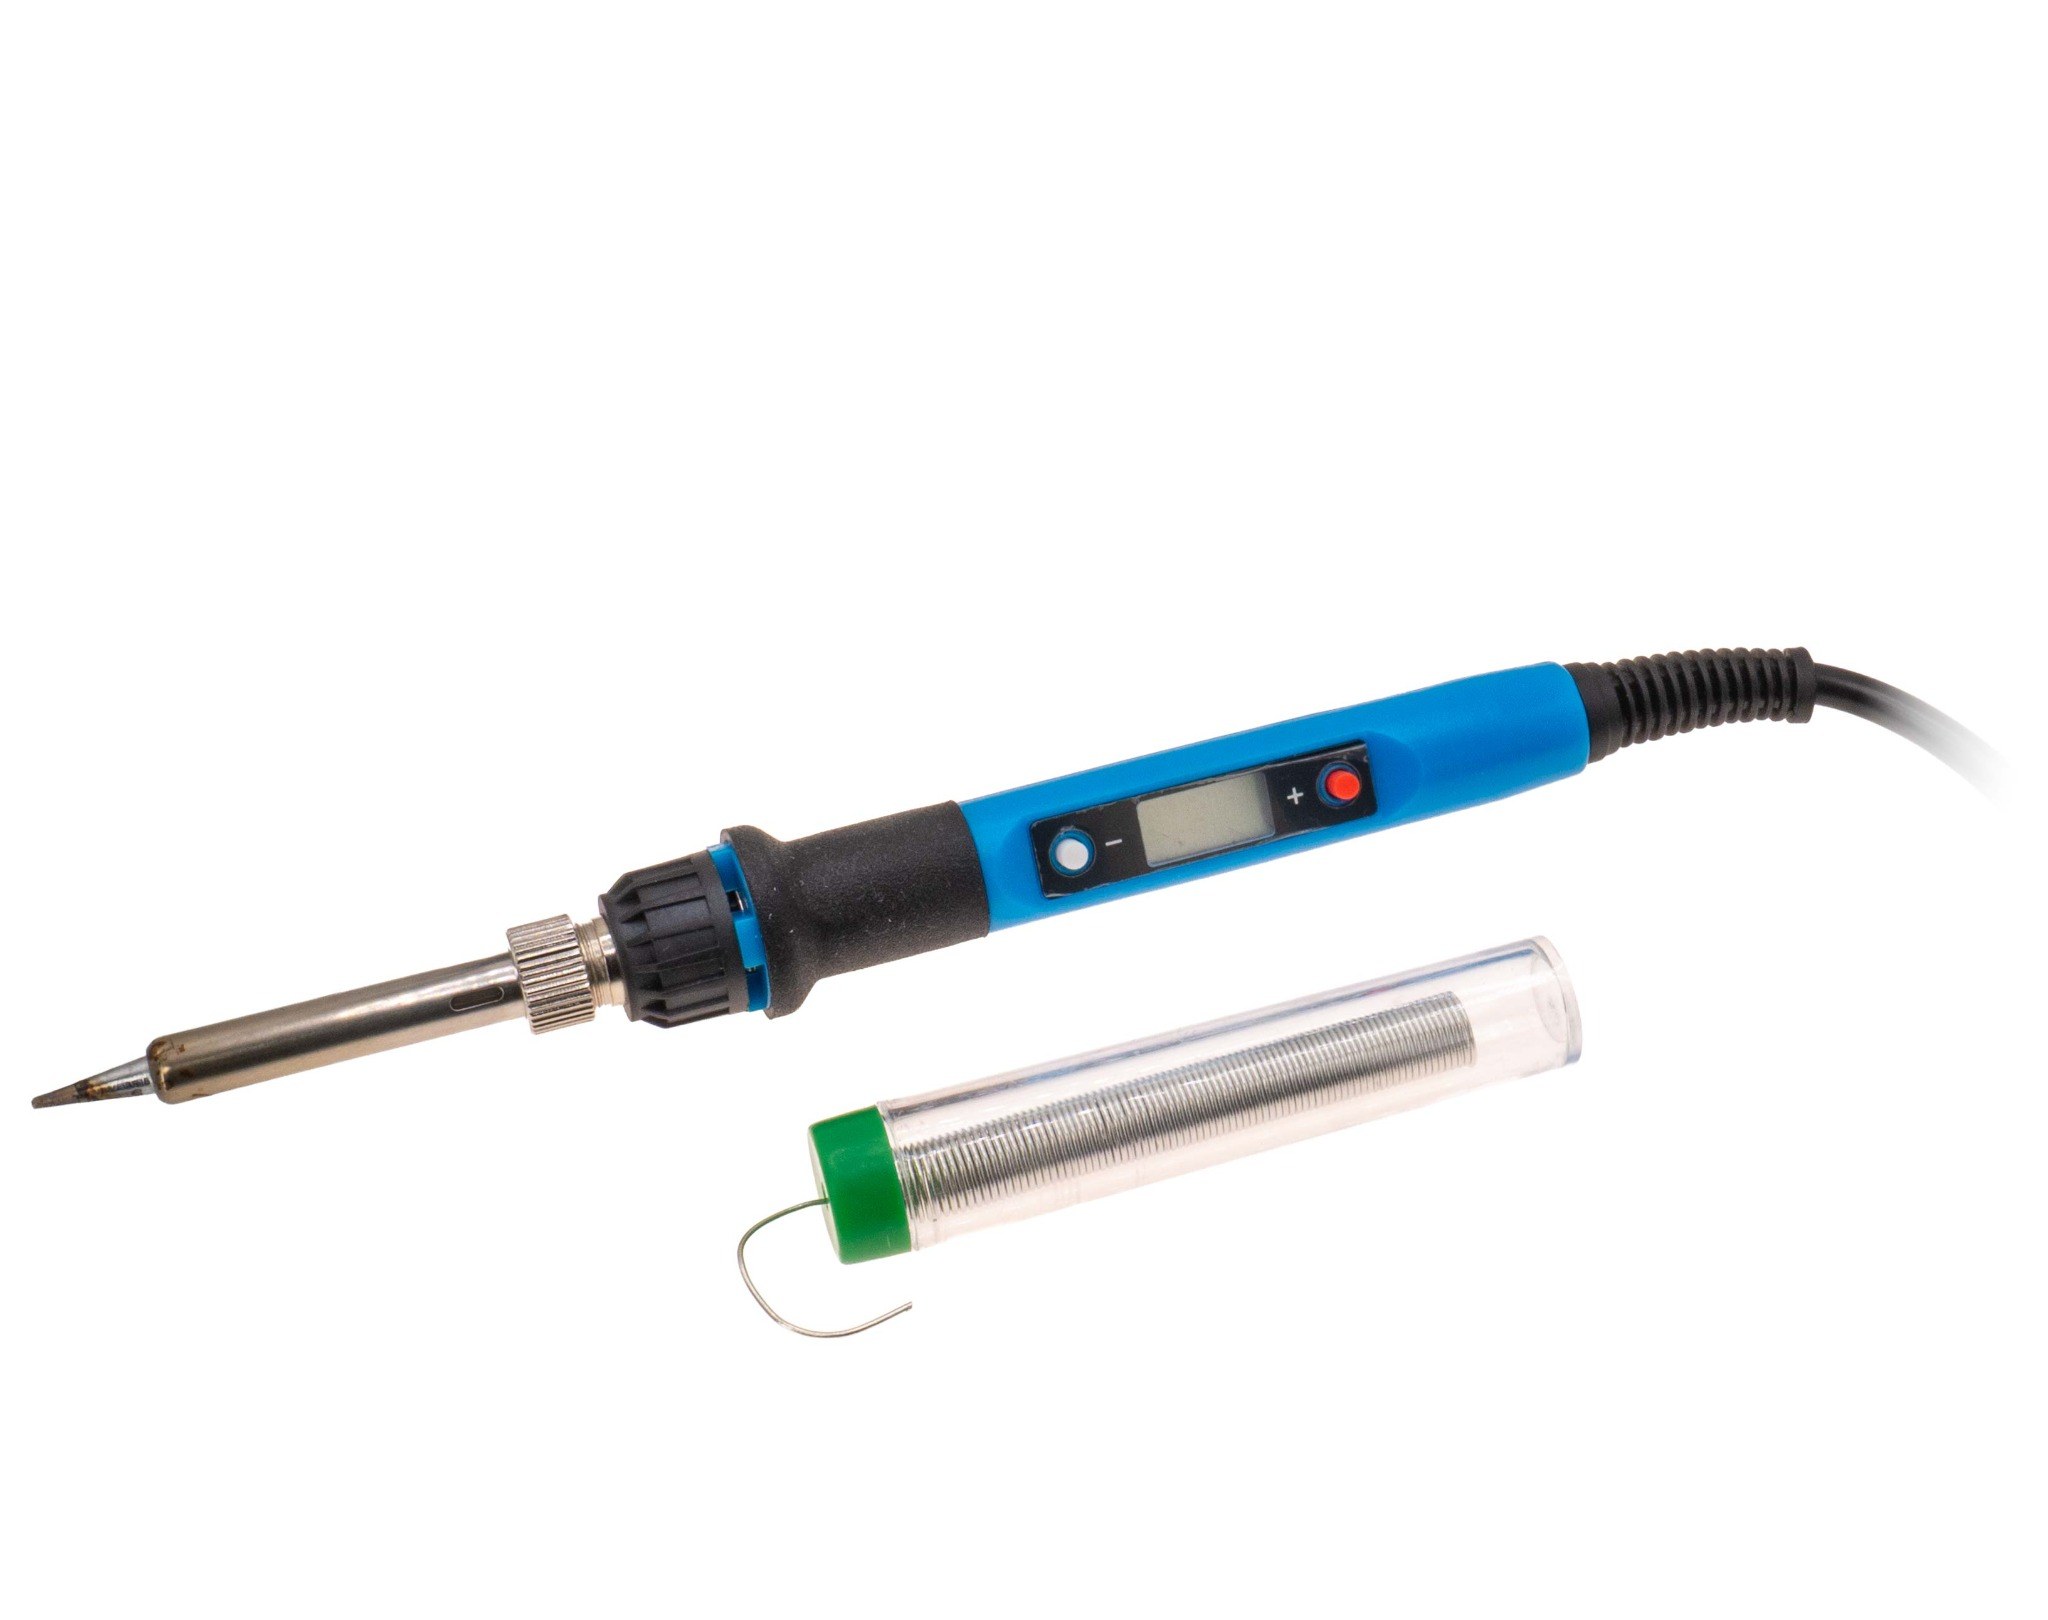
Make controlled electrical joints before insulating them with heat shrink tubing.
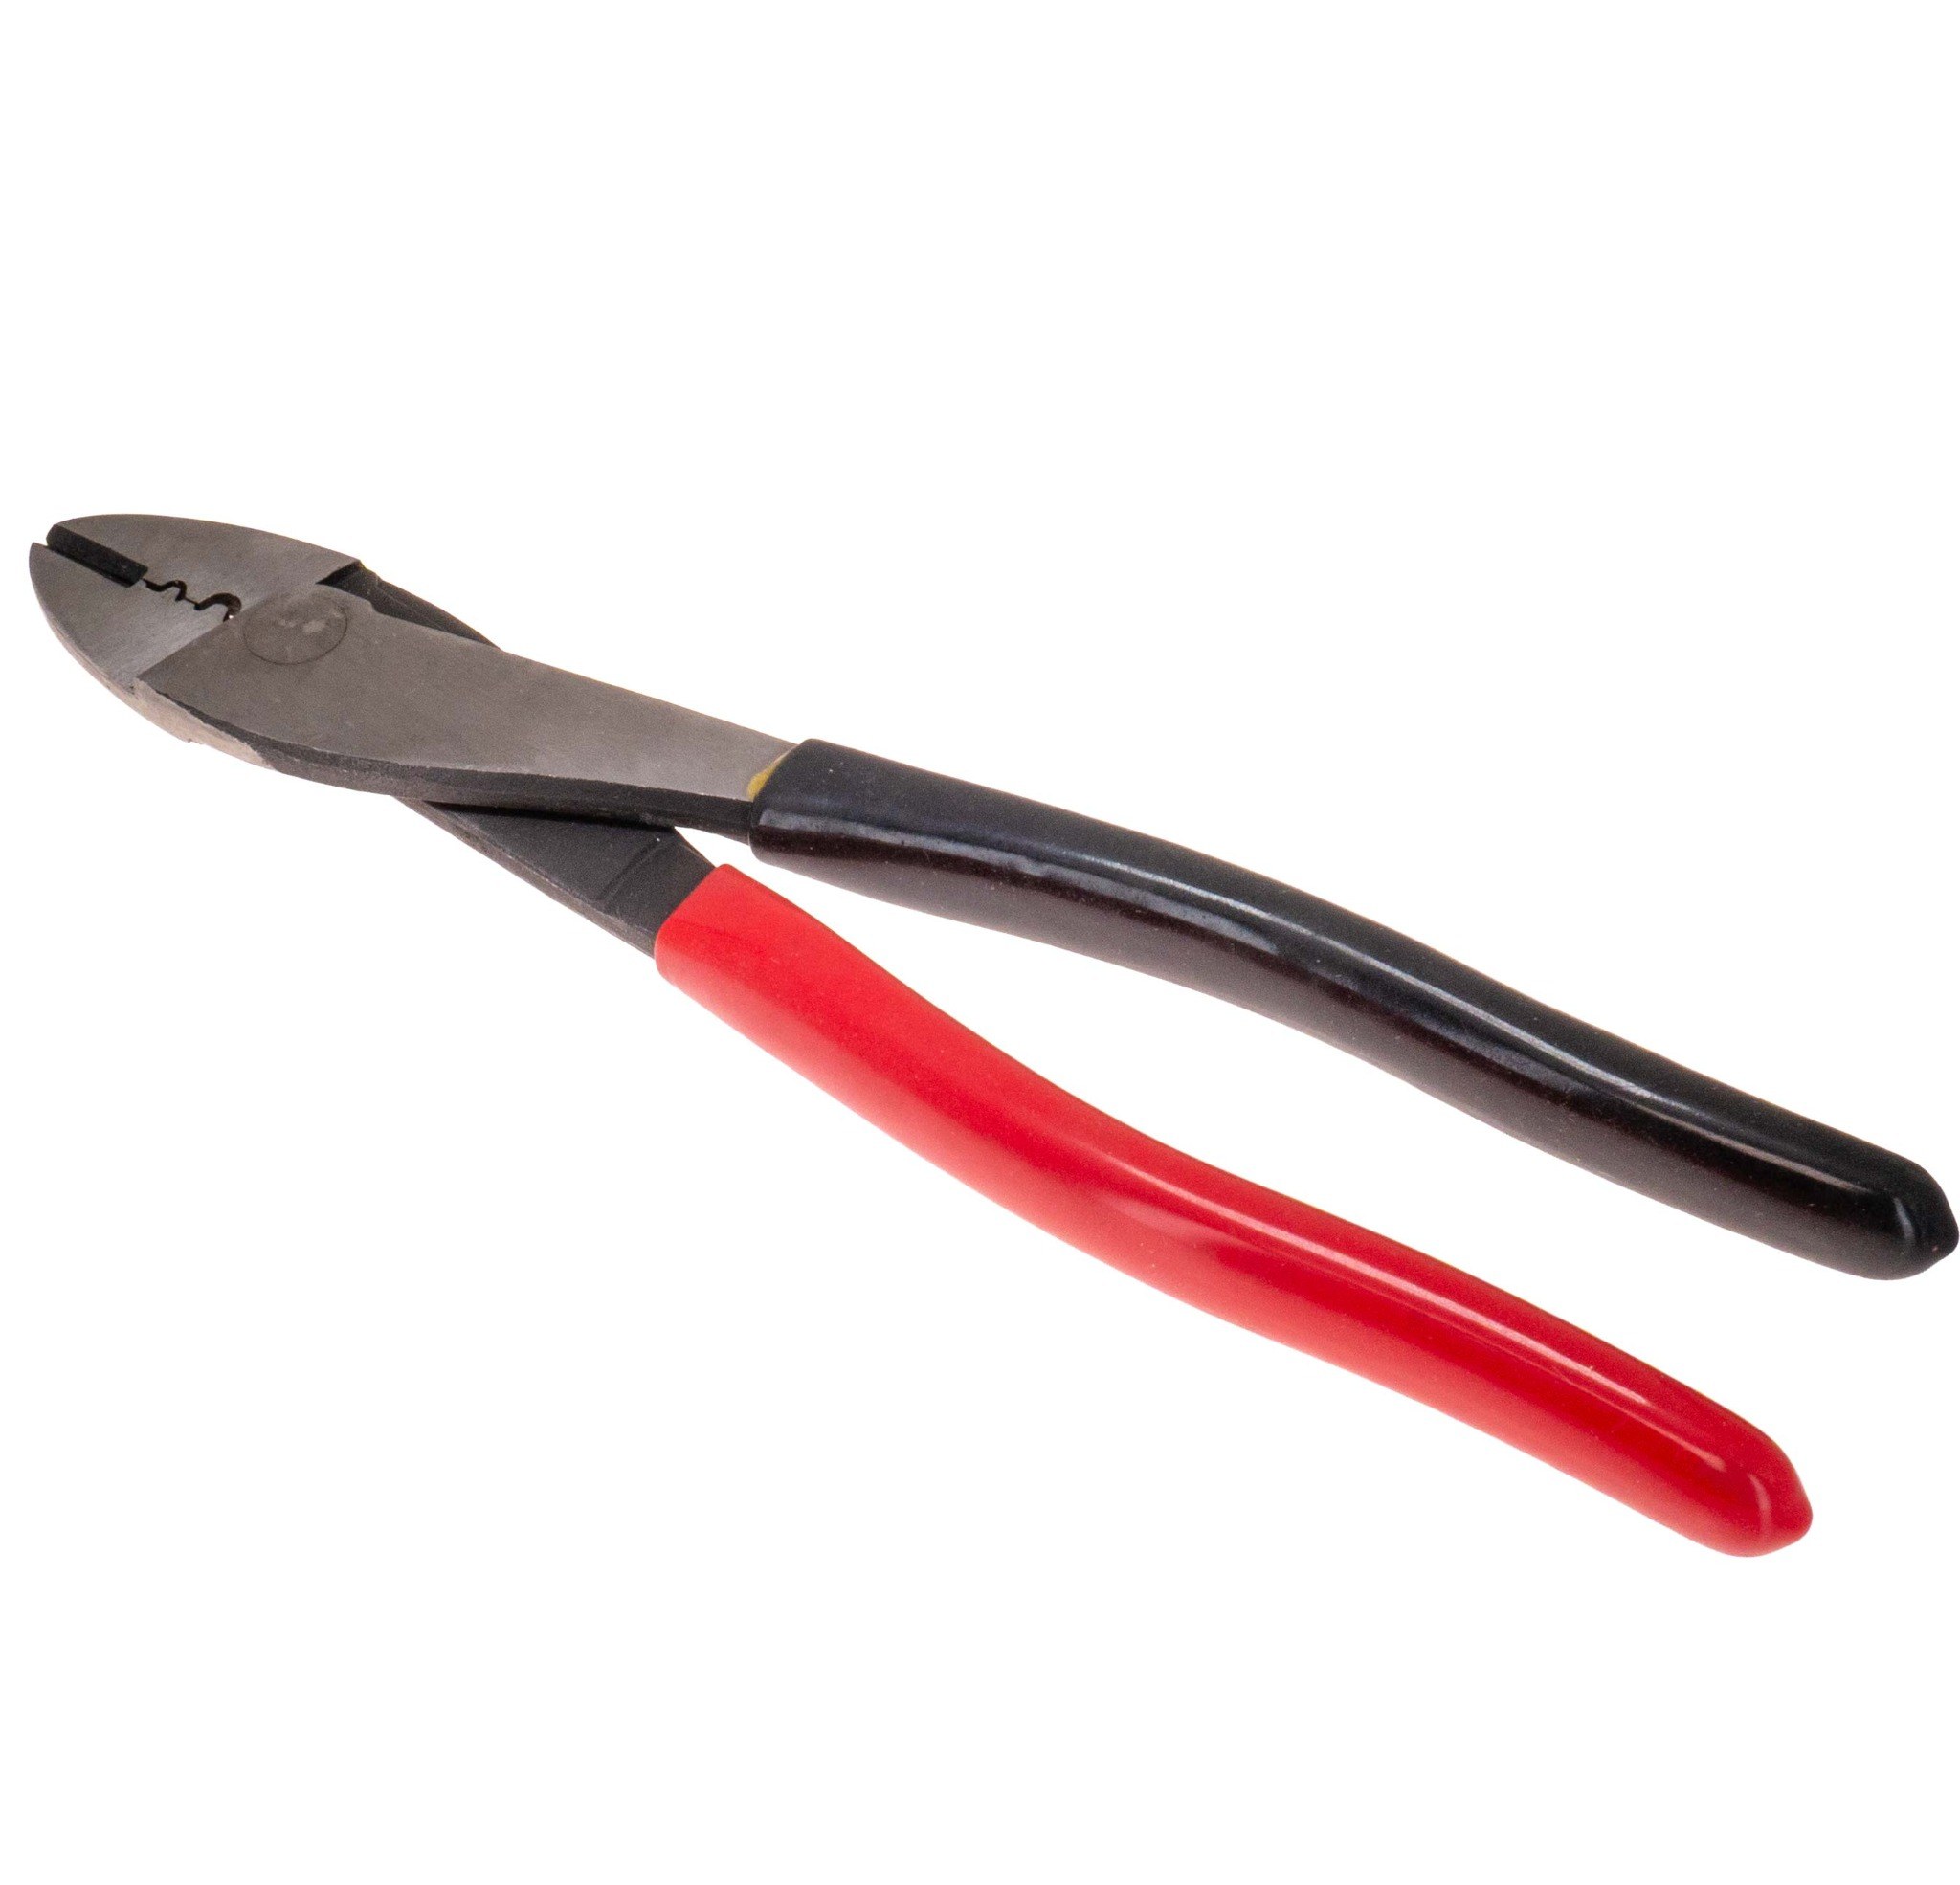
Install insulated and heat-shrink connectors consistently and securely.
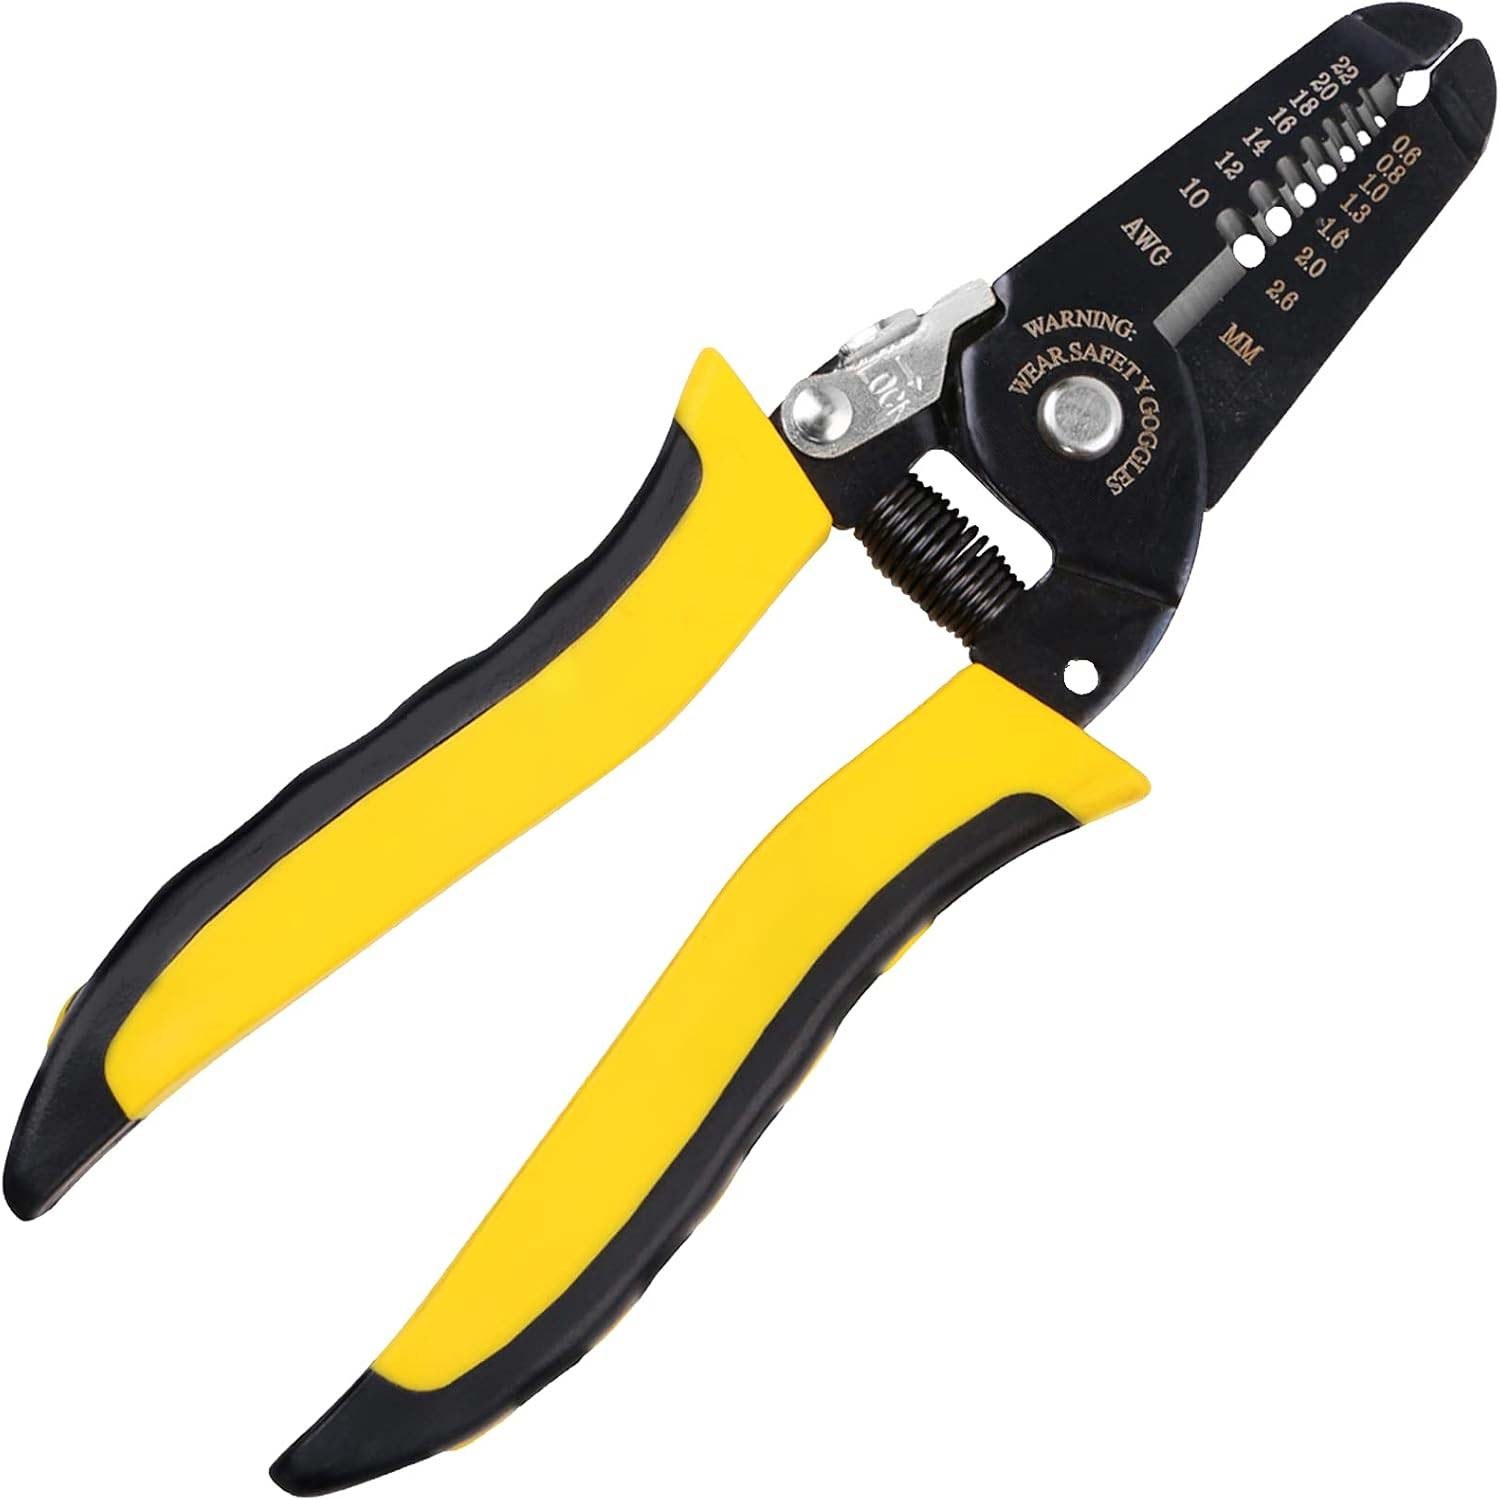
Remove insulation without nicking, cutting or weakening the copper strands.
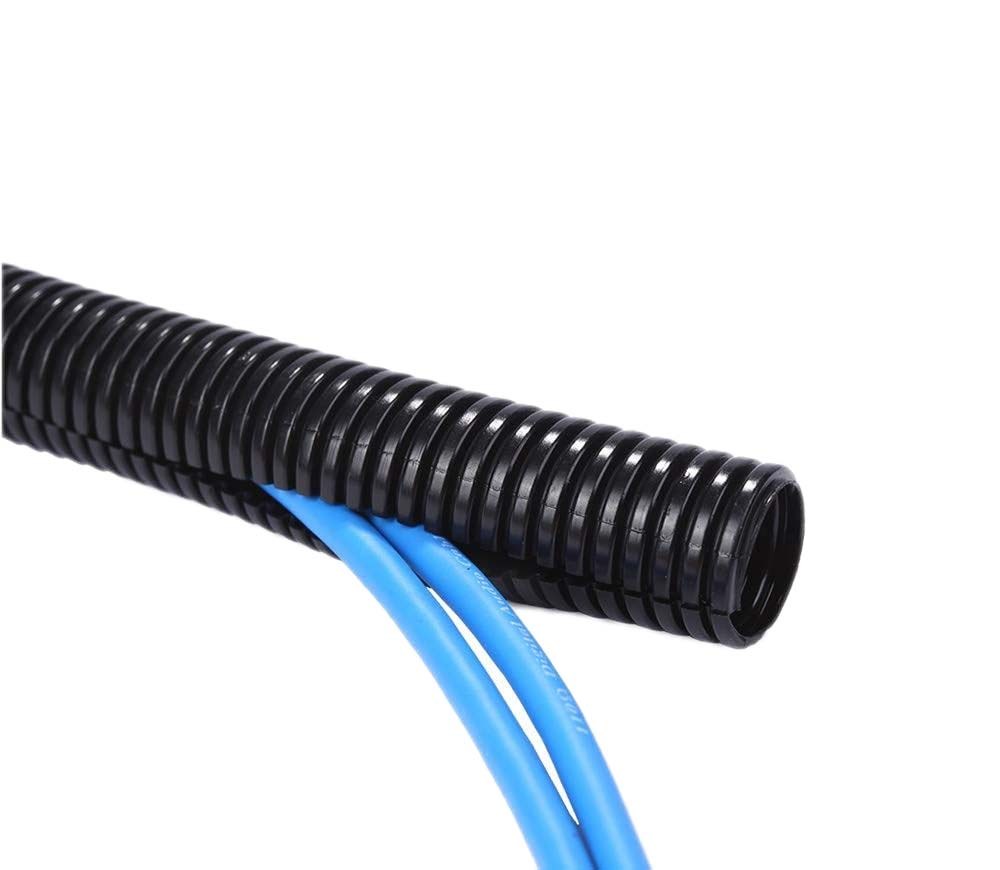
Protect longer wire runs from abrasion, vibration and contact with surrounding panels.
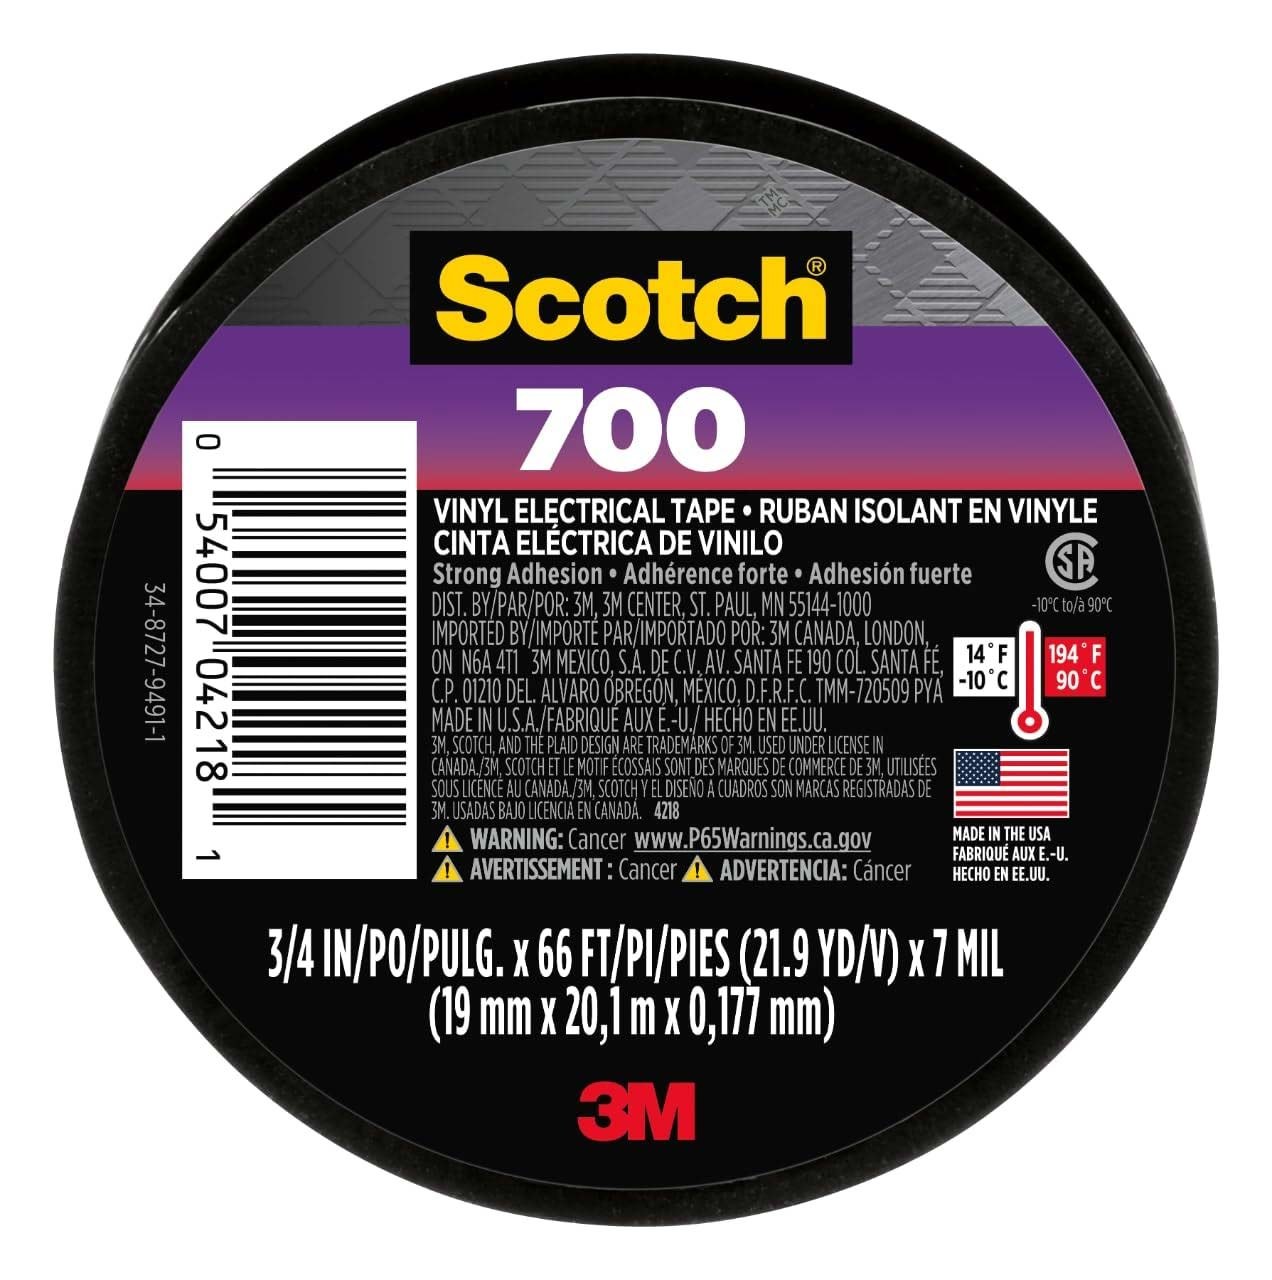
Bundle wiring and add supplemental protection around the completed harness.
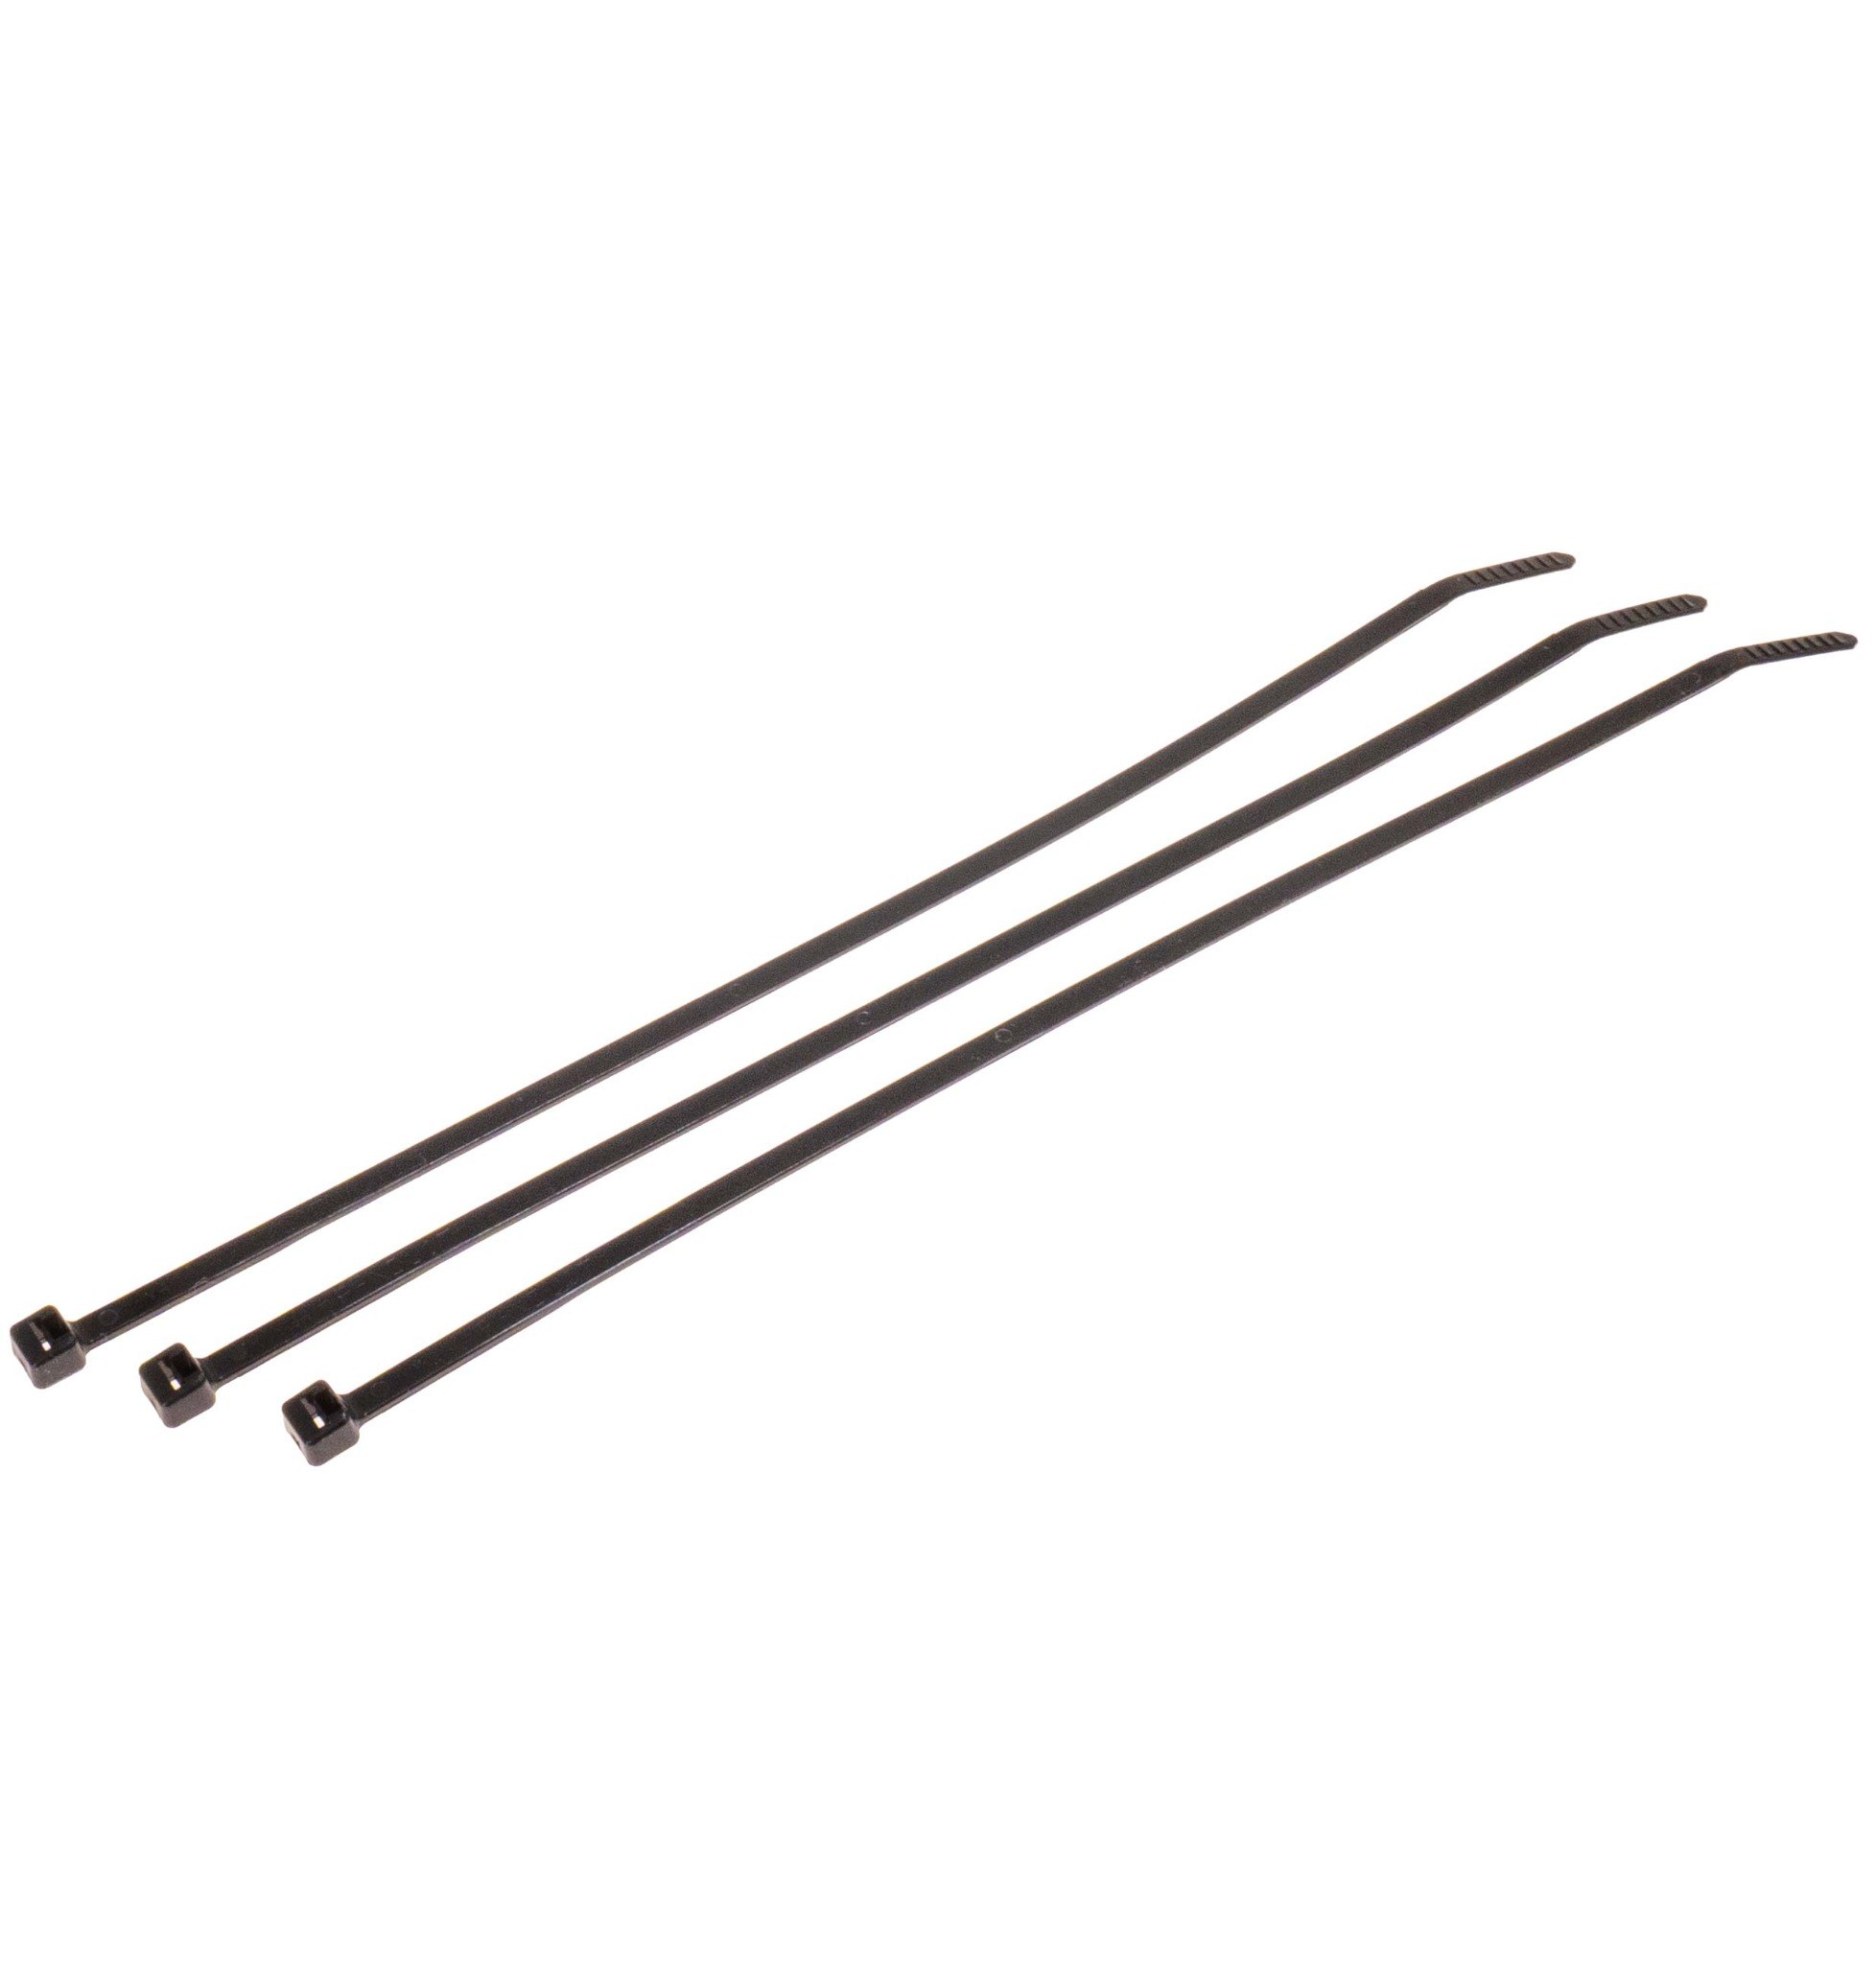
Secure the harness away from heat sources, sharp edges and moving components.
Related Installation Guide
Heat shrink tubing is commonly used with crimp connectors. Review the Butt Connectors Guide for connector sizing, proper crimping and pull-testing procedures.
Frequently Asked Questions
Does heat shrink tubing make a connection waterproof?
Standard tubing provides insulation but is not necessarily waterproof. Adhesive-lined tubing can create a moisture-resistant seal when the tubing, wire insulation and installation method are compatible.
What shrink ratio should I use?
Use 2:1 for simple wire splices, 3:1 when the tubing must pass over a connector or different wire diameters, and 4:1 for larger or irregular components.
Can I use a lighter on heat shrink tubing?
A lighter can create uneven heat, soot and burned insulation. A heat gun gives better temperature control and a more uniform result.
Should heat shrink tubing be installed before soldering or crimping?
Yes. Slide the tubing onto the wire before completing the connection, then center it over the finished joint.
Can heat shrink tubing replace electrical tape?
Heat shrink is better for permanently insulating individual splices. Electrical tape remains useful for bundling, supplemental protection and serviceable harness wrapping.
Can heat shrink tubing be reused?
No. Once tubing has been shrunk and removed, replace it with a new piece.
Protect Your Automotive Wiring Properly
Select tubing that fits over the connection before heating and grips the wire after shrinking. Use adhesive-lined tubing where moisture protection is required, apply heat evenly and secure the completed harness to prevent movement.
