Backup Camera Installation Gallery – Chrysler 300
|
Audio Podcast
|
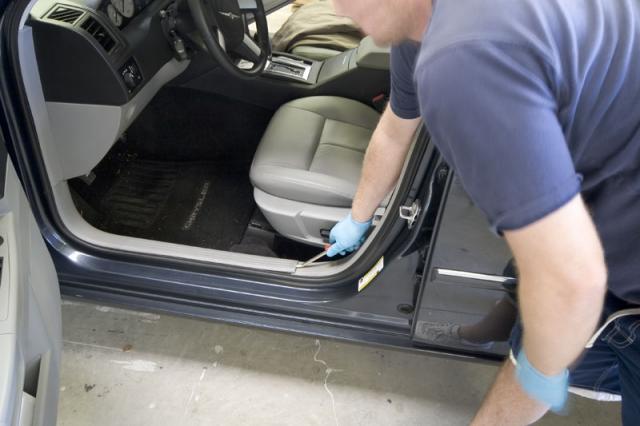
Pic 1: Here we have removed the panel and this is where we will run all of the wiring to the camera.
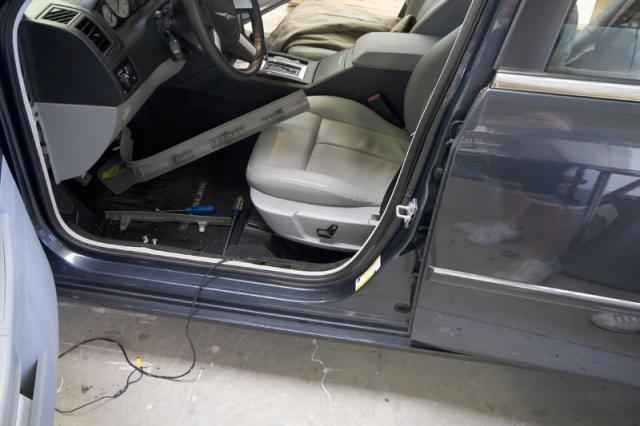
Pic 2: Here is a better look at how things look when the panels are removed.
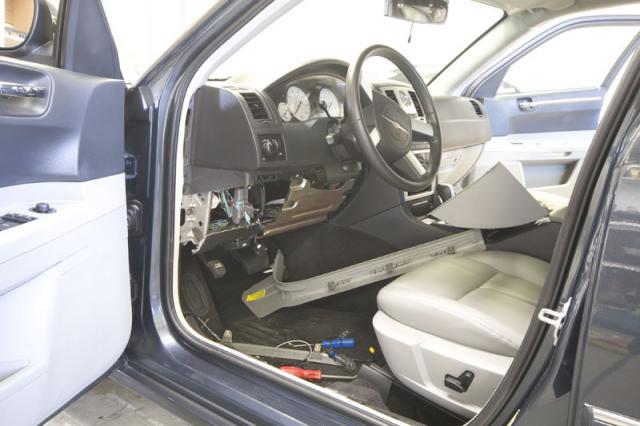
Pic 3: Here is a close up of underneath the dash, here we connect the power to the system. We get power underneath the dash connecting to the main vehicle power.
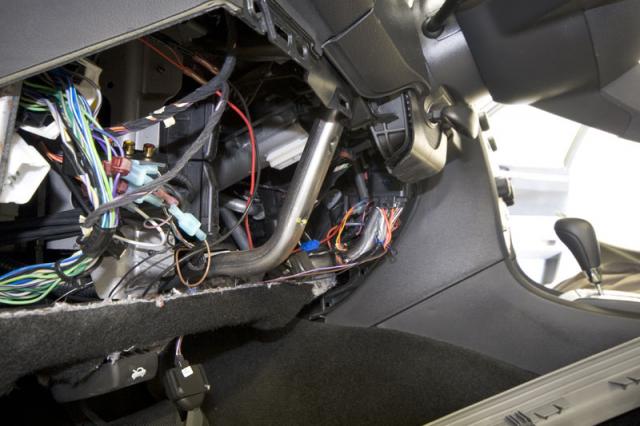
Pic 4: Close up of the factory wiring.
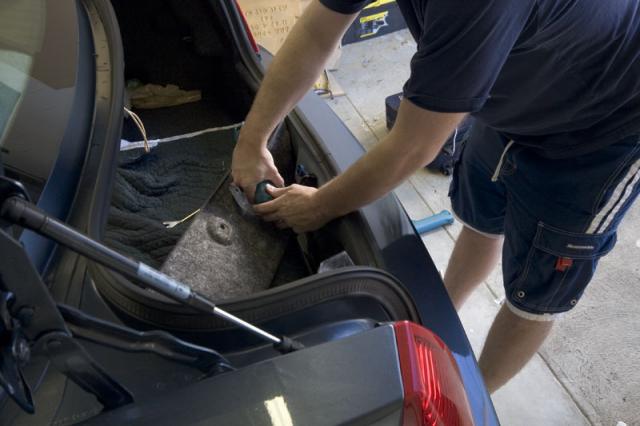
Pic 5: Here we are drilling a small hole to run the vide cable and power cable to the License plate camera
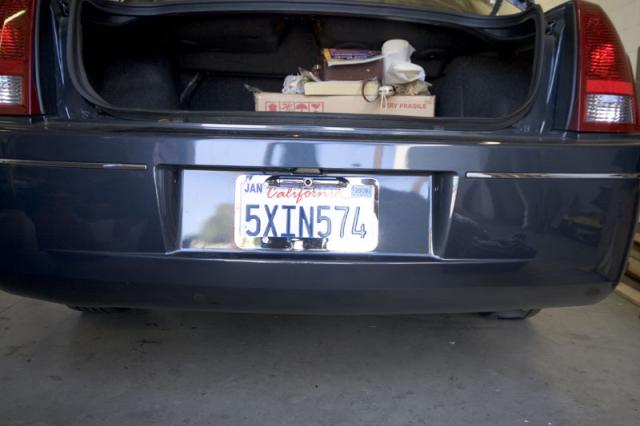
Pic 6: Here is the camera installed. This is a full frame camera for a great look.
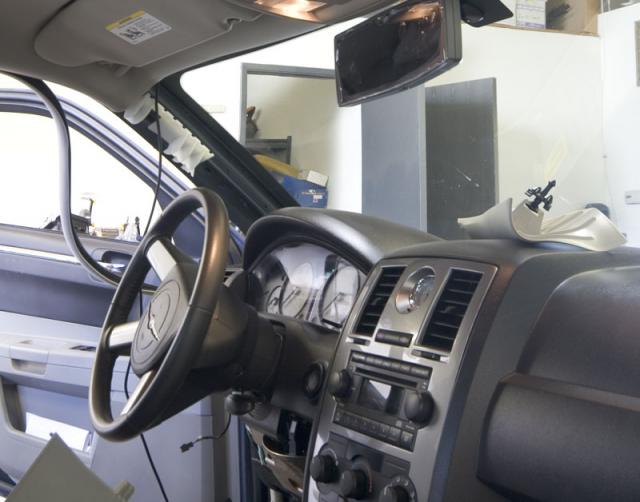
Pic 7: Here we have removed some of the pillar trim to run the cables to the rear-view mirror monitor.
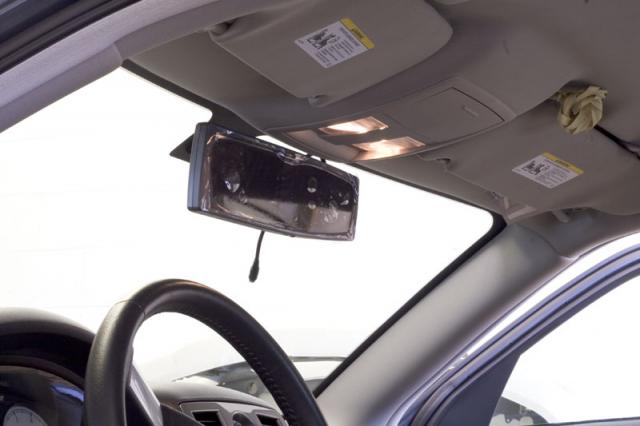
Pic 8: Here we have clamped rearview mirror monitor to the factory mirror (We used a clamp on mirror monitor)
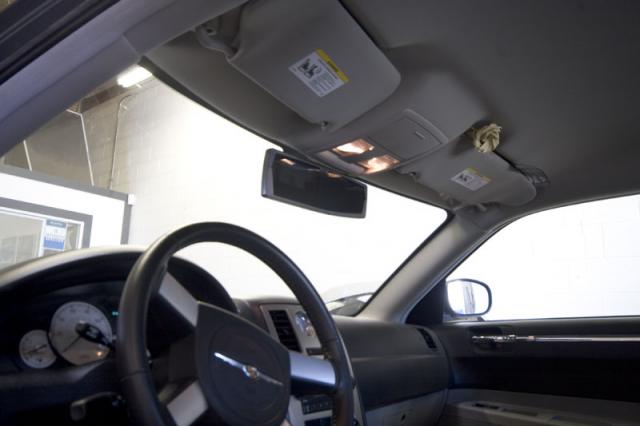
Pic 9: Better view of the relative size of the monitor.
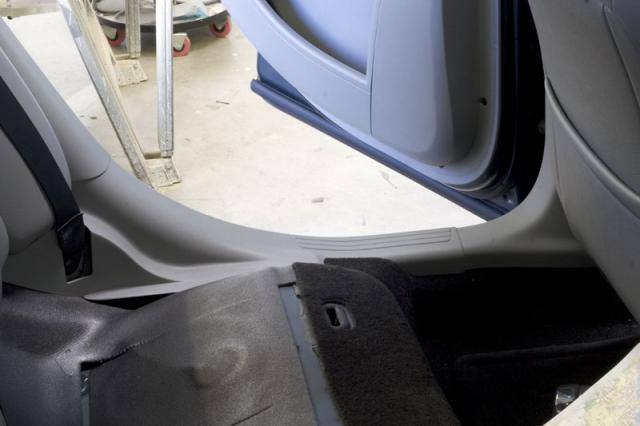
Pic 10: Here we have removed the rear seat and we run all the cabling through the thresholds


Great Stuff Do you have any Video on installing Blind Spot assist on 2015 Veloster, or any make car.
In the future we will do a video on installing a blind spot system.