Rosen AV7900 DVD Headrest – Installation Video
Updated:09/24/2015
Find DVD Headrests for your vehicle: Rosen DVD Headrests
Rosen AV7500 Installation Manual
Rosen AV7900 Installation instructions
Rosen AV7950 DVD Headrests – Installation
We walk you through the entire installation process of adding Vehicle Specific Rosen DVD headrests to a 2010 Acura MDX SUV. The installation is a relatively easy thing to do but does require some disassembly of the vehicle and some automotive wiring know how.
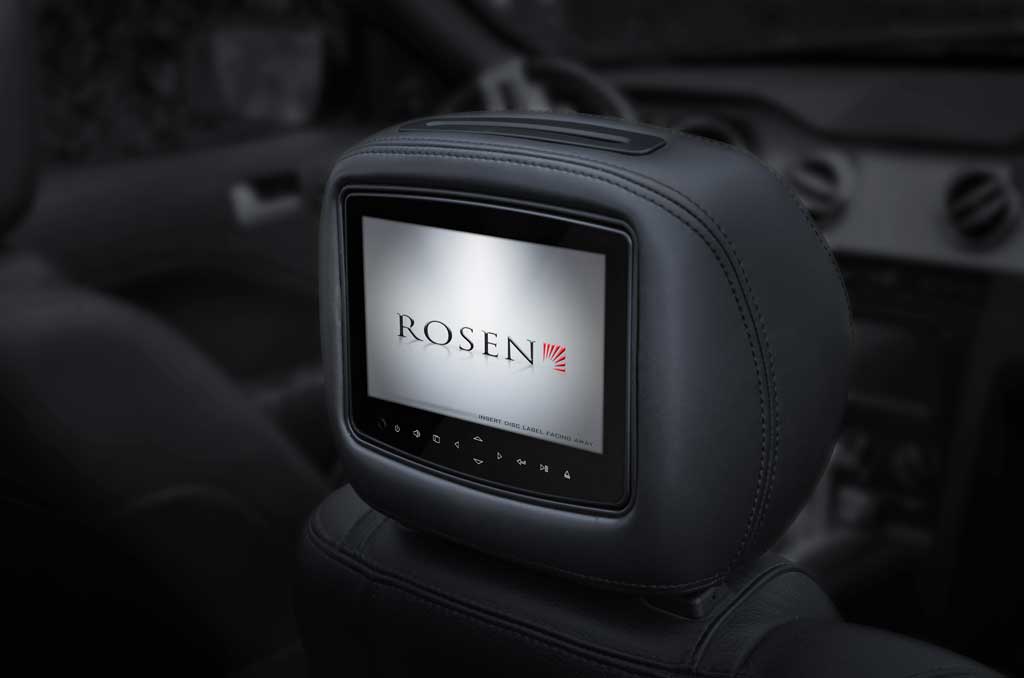
Rosen AV7900 Installed
Step 1 – Equipment Placement
You will need to find a location to mount the control bow and route the wires. The location that we determined would be the best is under the seat.
Step 2 – Remove the seat back for running wires
The plastic seatback is removed to make way for running the wires in the seat for connection to the control box. Simply pop the pops and slide the seat back down for removal.
Step 3 – Remove the original headrests and insert the AV7950
The removal of the factory headrests is simply a matter of pulling them out through the top. When inserting the replacement headrests you will need to route the wiring.
Step 4 – Routing the wire through to the seat bottom
The wiring is run on the left and right side of the seat back to seat bottom connector bracket. The are factory cables that are run and we run ours the same way.
Step 5 – Tie off cabling
The cabling must be secured to prevent cable damage when the seat is moved. All of our cables are tied to the existing factory cables.
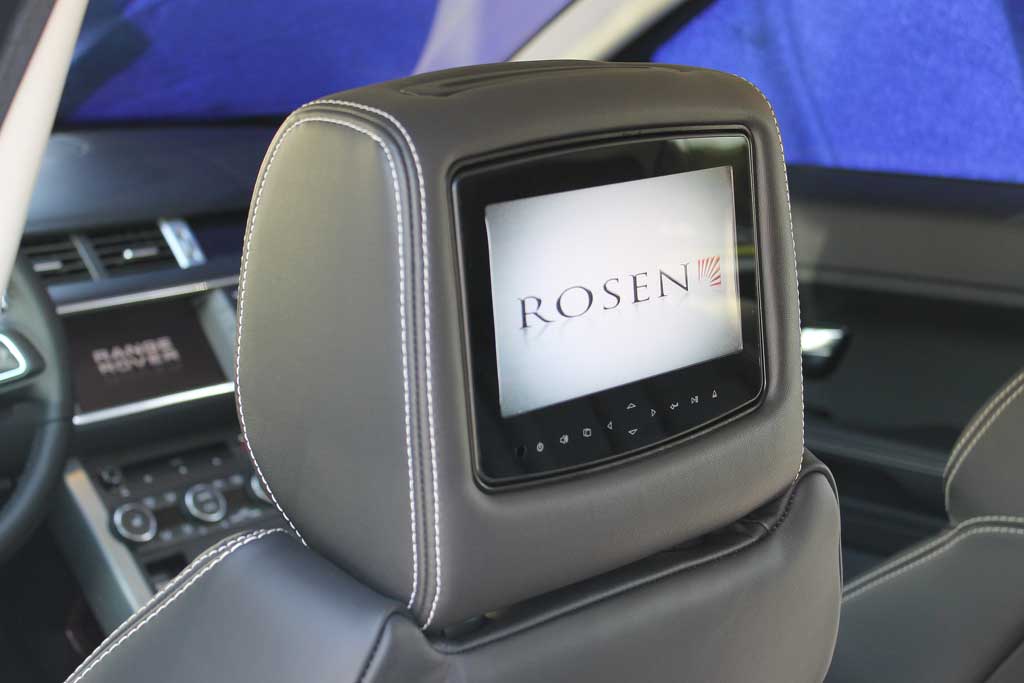
AV7900 DVD Headrests installed in a Land Rover Evoque
Step 6 – Prepare seat back for re-installation
Make sure to have the plastic tabs in place so that they are aligned for the re-installation of the seat back.
Step 7 – Route drivers side wiring to control box
To run the drivers side cabling we attach all of the cables underneath the seat to the factory cables. Once completed we make the connection to the control box.
Step 8 – Power connection
To provide power to the system we connected our power lead to the Bluetooth module behind the rear cigarette lighter plug.
Step 9 – Passenger side cabling
To run the passenger side cabling we opted to remove the center console and route the wiring through the console. Once completed we make the connection to the control box.
Step 10 – Verify our connections with a voltmeter
Before turning on the power we verify our connections with a volt meter
Hopefully this video gives you a better idea as to how we install a set of replacement headrests in your vehicle.
We walk you through the entire installation process of adding DVD headrests to your vehicle


Recent Comments