How To Correctly Install a Car Stereo, Wiring Harness & Dash Kit
Can I do this?
Let’s face it, installing an aftermarket car stereo can appear to be a daunting task. With some basic skills nearly anyone can successfully install and aftermarket radio in their vehicle. Learning these basics of car stereo installation without a teacher can take years. We show you the tips of the trade and the basics of an aftermarket car stereo installation.
Step #1 Car Stereo Wiring
Here her prepare the Metra wiring harness and steering wheel remote
We take you through the steps of wiring a Clarion NX404 Double DIN navigation system. First we walk you through the steps of preparing the Metra wire harness and the connections to the Clarion Double DIN radio. Preparing the wire harness by stripping the appropriate wires and using crimp connectors to make those connections to the aftermarket radio’s harness.
The Metra wiring harness is specifically designed to plug in to your vehicle’s factory wire harness without having to cut the factory wiring. These harnesses have color coded wires to make connection much easier for the novice. All aftermarket radios have a standard wiring color that matches up with the Metra Wire harness. Be sure to check out our video on the difference in wiring harnesses here.
Step #2 Car Stereo Dash Kit
In the second step, we take you through the process of mounting the aftermarket radio to the Metra Dash kit and preparing to install the radio in the vehicle. This part of the stereo installation is often the easiest part as it is aa matter of mounting.
Here we are installing the Metra Dash Kit
If you have any additional questions please feel free to ask us below.
To purchase these items
Car Stereo Receivers
Installation Parts and Accessories
Find the correct installation hardware for your vehicle
Find the Installation kit and harness for your car here: http://www.metraonline.com/
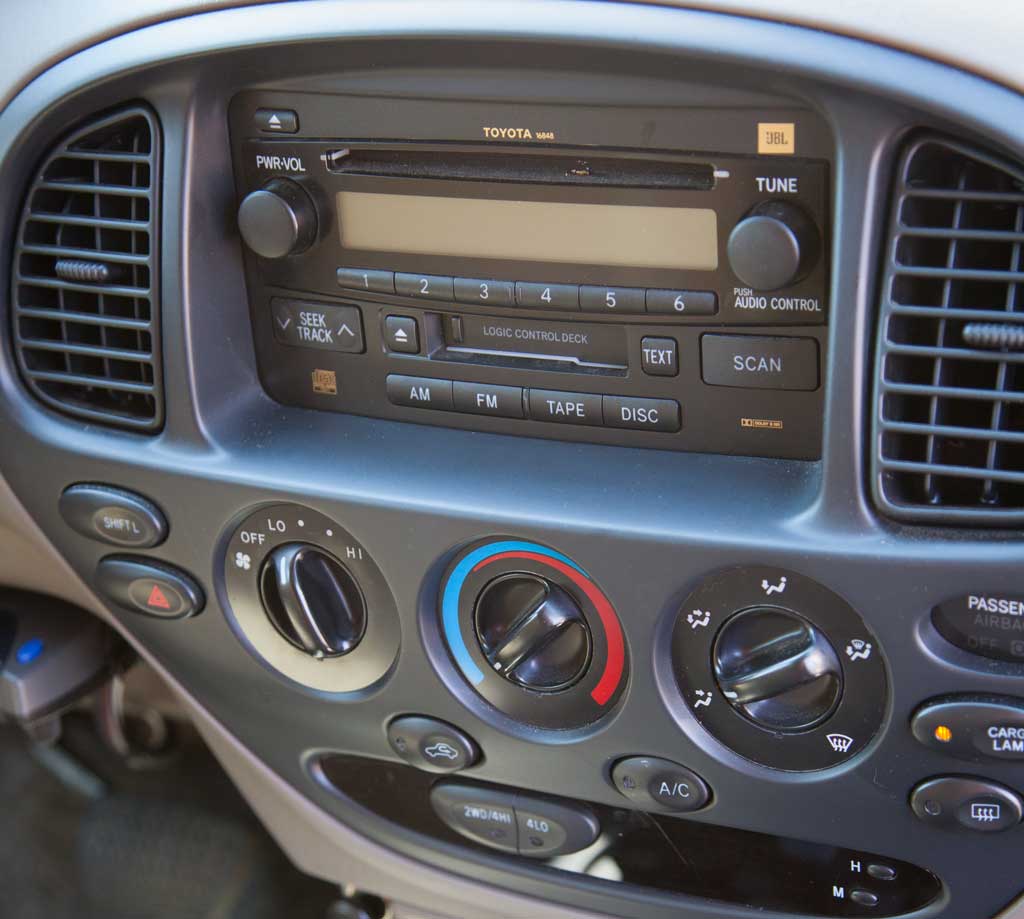
OEM factory radio…. How boring!
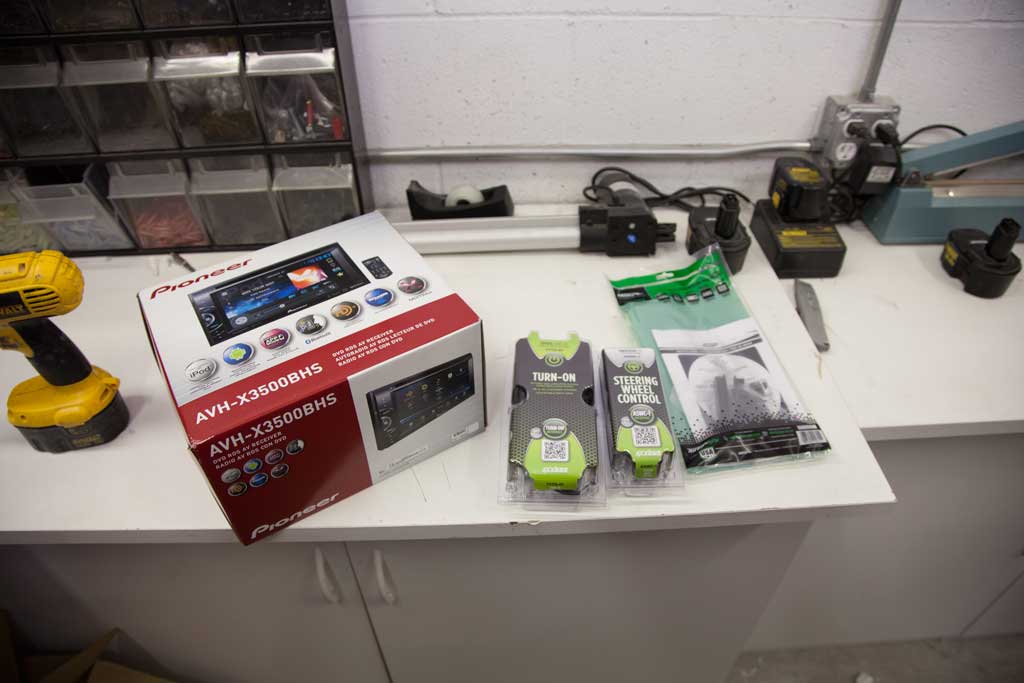
Here we have all the items we need for the installation of our new car stereo. We have a Pioneer AVH-X3500BHS, ASWC Steering wheel remote, Metra dash kit, and Metra wiring interface
Here we are installing the Metra Dash Kit
Here her prepare the Metra wiring harness and steering wheel remote
About to install the Aftermarket Pioneer Double DIN Car stereo
We install a Pioneer double din car stereo

Maybe its the Navigation, maybe its the ability to play DVD’s in your vehicle while on the road or it might just be the ability to play songs directly from your smartphone wirelessly, whatever the reason might be for you to want to upgrade your stock radio, there are only a few steps that you’ll need to take to make sure your installation goes as smoothly as possible.
Step-by-Step installation instructions

We installed a feature-packed Pioneer AVH-X3500BHS (Now Replaced With the AVH-X3600BHS) on a 09 Tundra. Like most aftermarket radios the X3500 is compatible with the stock steering wheel controls but we had to add an interface to make it happen. For the most part this was a fairly standard head unit installation but we also needed to add a special harness to bypass the JBL components on some Toyota vehicles.
We chose the X3500 (starting at $349.99) for Pioneers reputation for quality and reliability as well as what seems like its endless entertainment options. The X3500 has the ability to play Sirius XM satellite radio, HD radio, play DVD’s/MP3’s and has industry leading Parrot Bluetooth technology to stream music from your phone wirelessly including Pandora playlists and answer phone calls on the go.
Apart from having to add a couple of adapters, it did not take much to transform this technology outdated stock radio, which even has a cassette player(not that there is anything wrong with that) with top of the line technology.
We walk you through the process below to help you get a better feel on how easy it can be to upgrade.


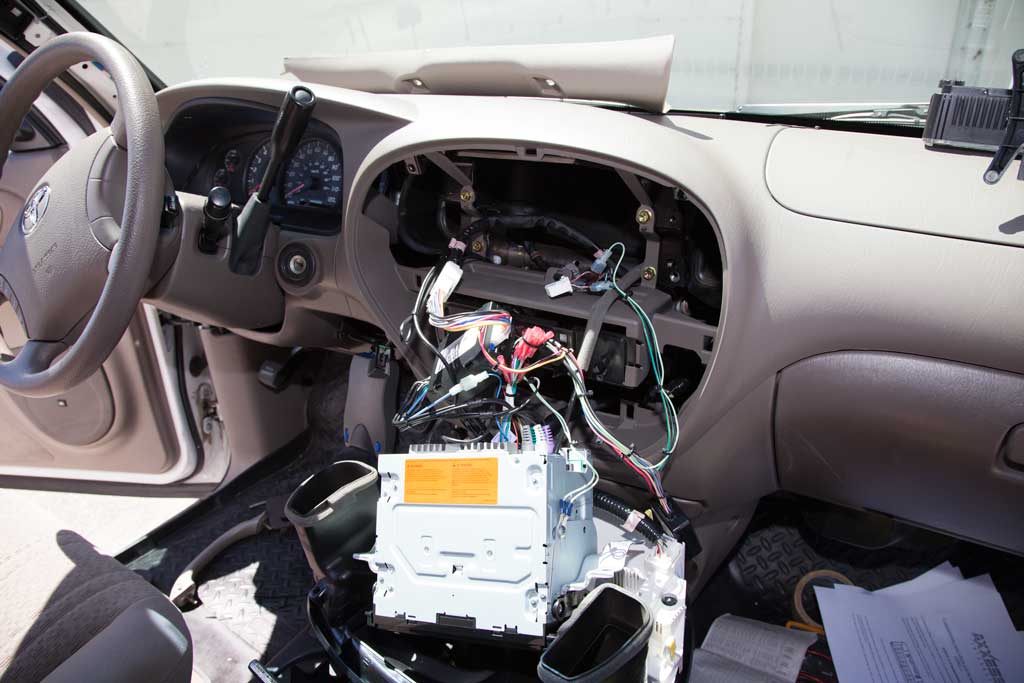
Step 1: Removing the factory head unit can sometimes be a bit of a pain but the first step is to remove the plastic housing surrounding the unit. In this 09 Tundra the plastic housing includes pretty much the entire dash in a circular form.
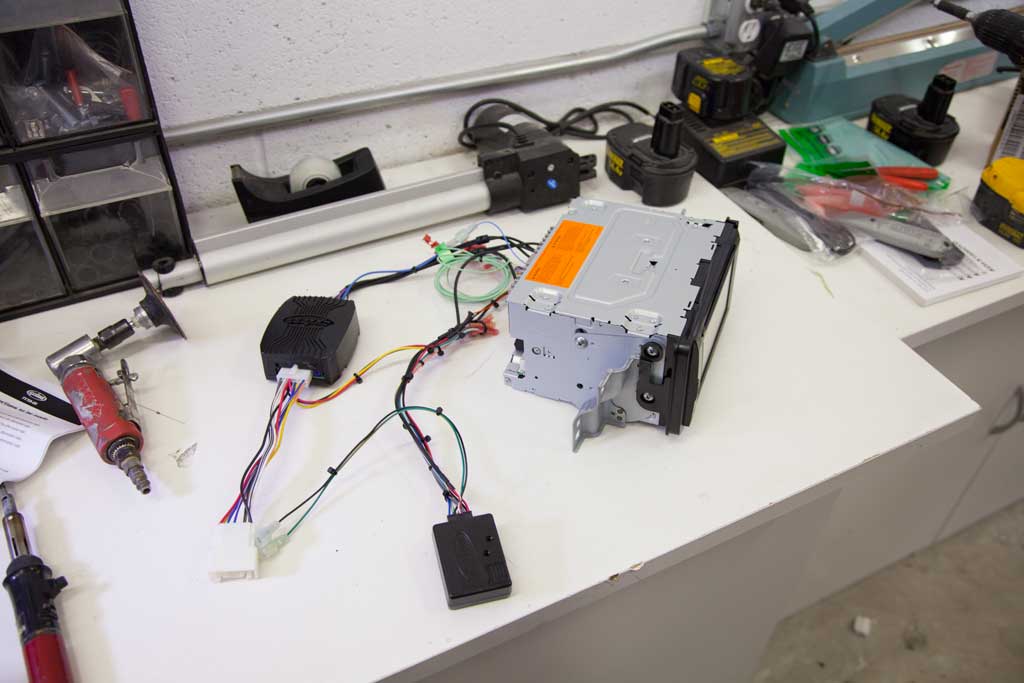
Once the housing is out, the head unit itself should be held in place by a couple of screws, simply remove those screws and un-clip the wiring harness as seen in white (above) and you have the blank canvas for your new navigation.


Learn all about car stereo wiring and what the colors of the wires mean.

Step 2: While upgrading to a new navigation receiver our customer wanted to make sure he did not lose his ability to use the factory steering wheel navigation controls. We were able to keep the controls by using the Metra ASWC-1, a steering wheel control interface for select aftermarket radios that can be bought for around $50.00.
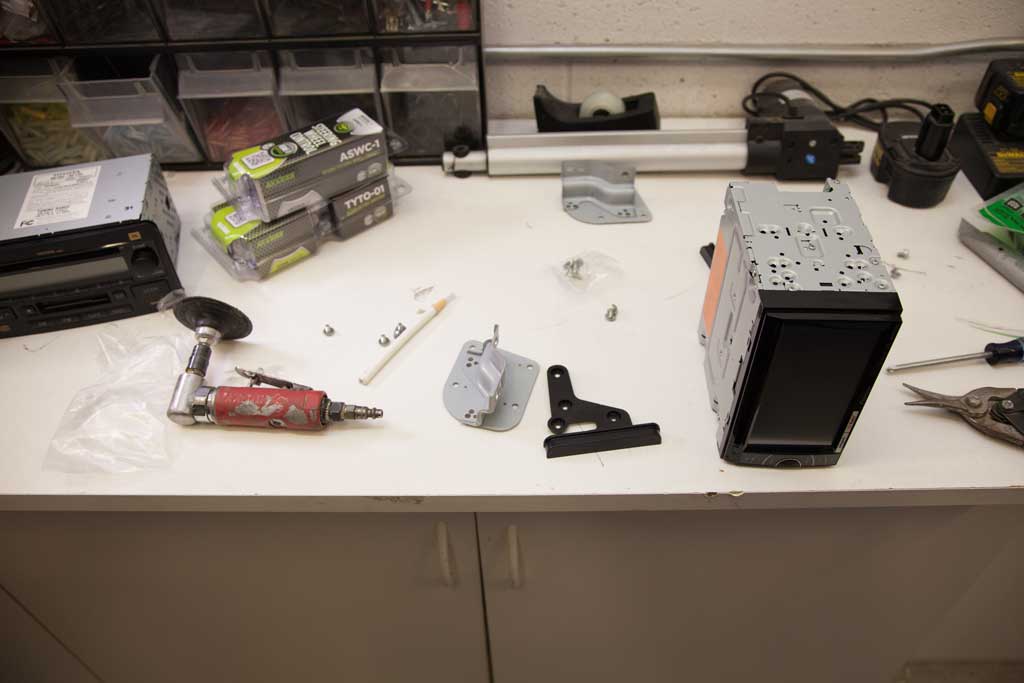
This 09 Tundra also needed an adapter that would make it compatible the stock JBL equipment already in the vehicle. With Metra TYT001 we are able to use the stock amplifier and stock speakers with the aftermarket navigation receiver for about $75.00. This double-din unit did not need a dash kit as it fits practically snug without additional housing.


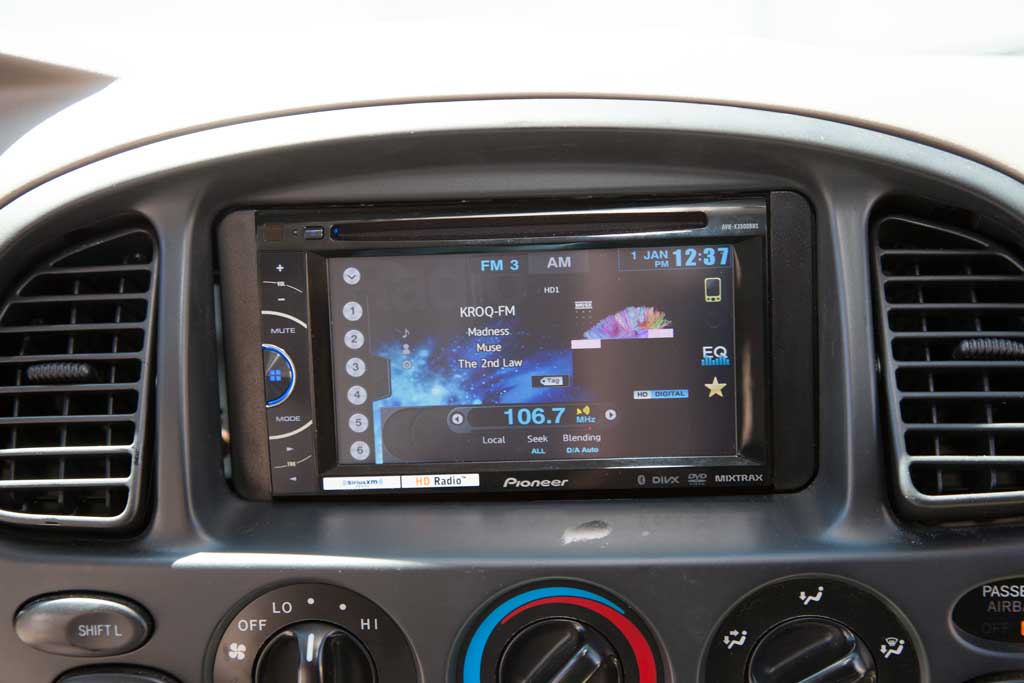
Step 3: Once all of the wiring interfaces and adapters are in place, installing the new navigation receiver is about the same process as removing the stock radio to begin with. In this case, we attached the JBL adapter to the vehicles stock harness and connected the steering wheel adapter.
Once those two connections have been made, we hold the unit in place using the same screw holes we used to remove the stock unit. The picture on the left should show exactly how it should look once mounted. Once that is mounted all that is left is to place back the plastic housing that hides all of the electrical connections of the dash and the installation is complete.


Recent Comments